How to Make the Perfect Pourover Coffee
Y’all know coffee is a lifeline of mine. My mom always says that she wanted to thank the person who discovered that you could brew this magical drink out of beans, and I wholeheartedly agree. It is one of life’s greatest pleasures, and the smell alone is dizzyingly alluring to me. I may be a coffee nerd, but I’m also non-discriminatory-- I appreciate a classic drip, french press, espresso, cappuccinos, and pourovers. I’m also not an uptight prick about coffee, because everyone appreciates it for different reasons and has their own preferences!
I used to primarily do french press at home in my old apartment because I had zero counter space to keep a grinder or other equipment, but when I moved into my new place, my housewarming gift to myself was a full pourover set. It quickly became my favorite way to brew at home— both because it’s a soothing morning activity for myself and also because, IMHO, it is the best-tasting brewed coffee method. And I promise, it isn’t all that complicated, even though it looks “fancy.”
I show my daily pourover every morning on my Instagram Stories, and I still get questions about technique, beans, equipment, etc. all the time, so I put together this guide with everything you need to know!
Why choose a pourover method to brew your coffee?
Pourovers are not only the best way to really taste the quality and notes of the coffee beans, they are also just a nice ritualistic thing to do in the morning. My morning routine sets the tone for my day, so whenever I do a pourover, I try to take that opportunity to really use all my senses to be present.
For those 3-4 minutes long that a coffee pourover takes, I really savor the amazing smell of those freshly-ground beans, watch the steam rise from the boiling water, and listening to the soothing sound as the coffee drips down into the little pot. Then pouring it into one of my favorite ceramic mugs and taking a beat for myself is a highlight of my morning, every morning.
What equipment do I need to make a pourover?
Coffee Beans — Whole beans, if you have a grinder, which I highly recommend. More about types of beans to use, below! We buy the Sagebrush variation of Canyon Coffee’s organic beans by the 5lb bulk, as this is our go-to – Canyon is an LA-based small business-owned roastery that I love!
Grinder — The three grinders I recommend (high, medium, and lower price point) are linked here, or you can go with a hand grinder if you prefer.
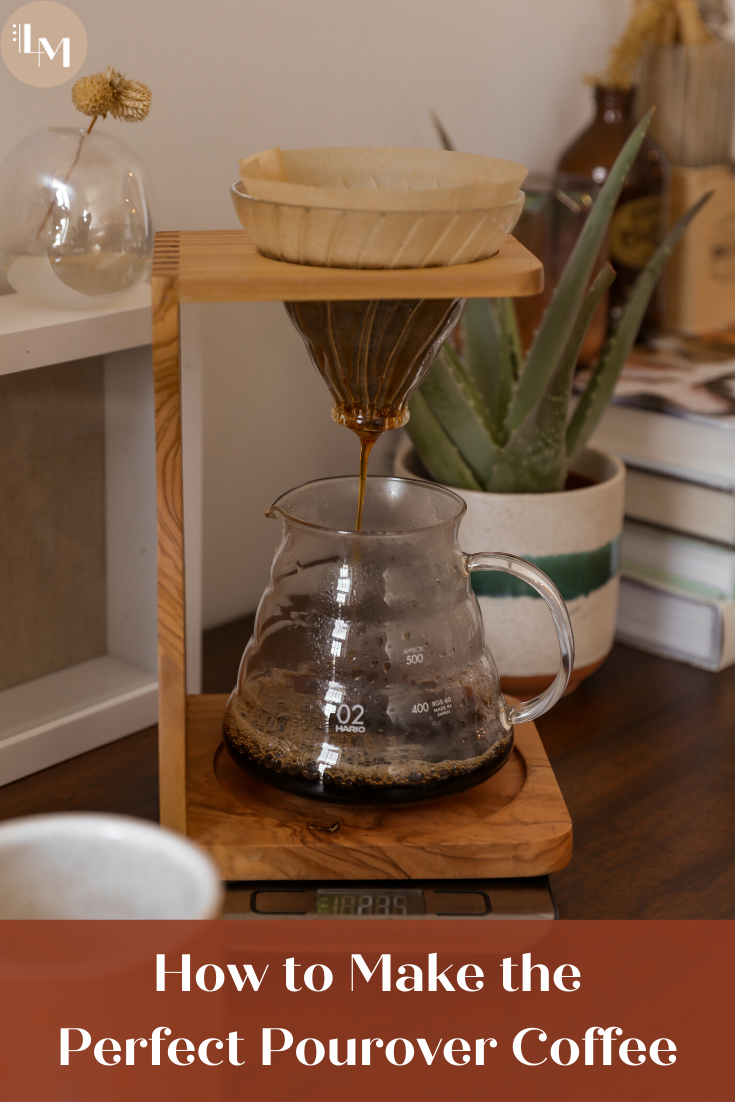
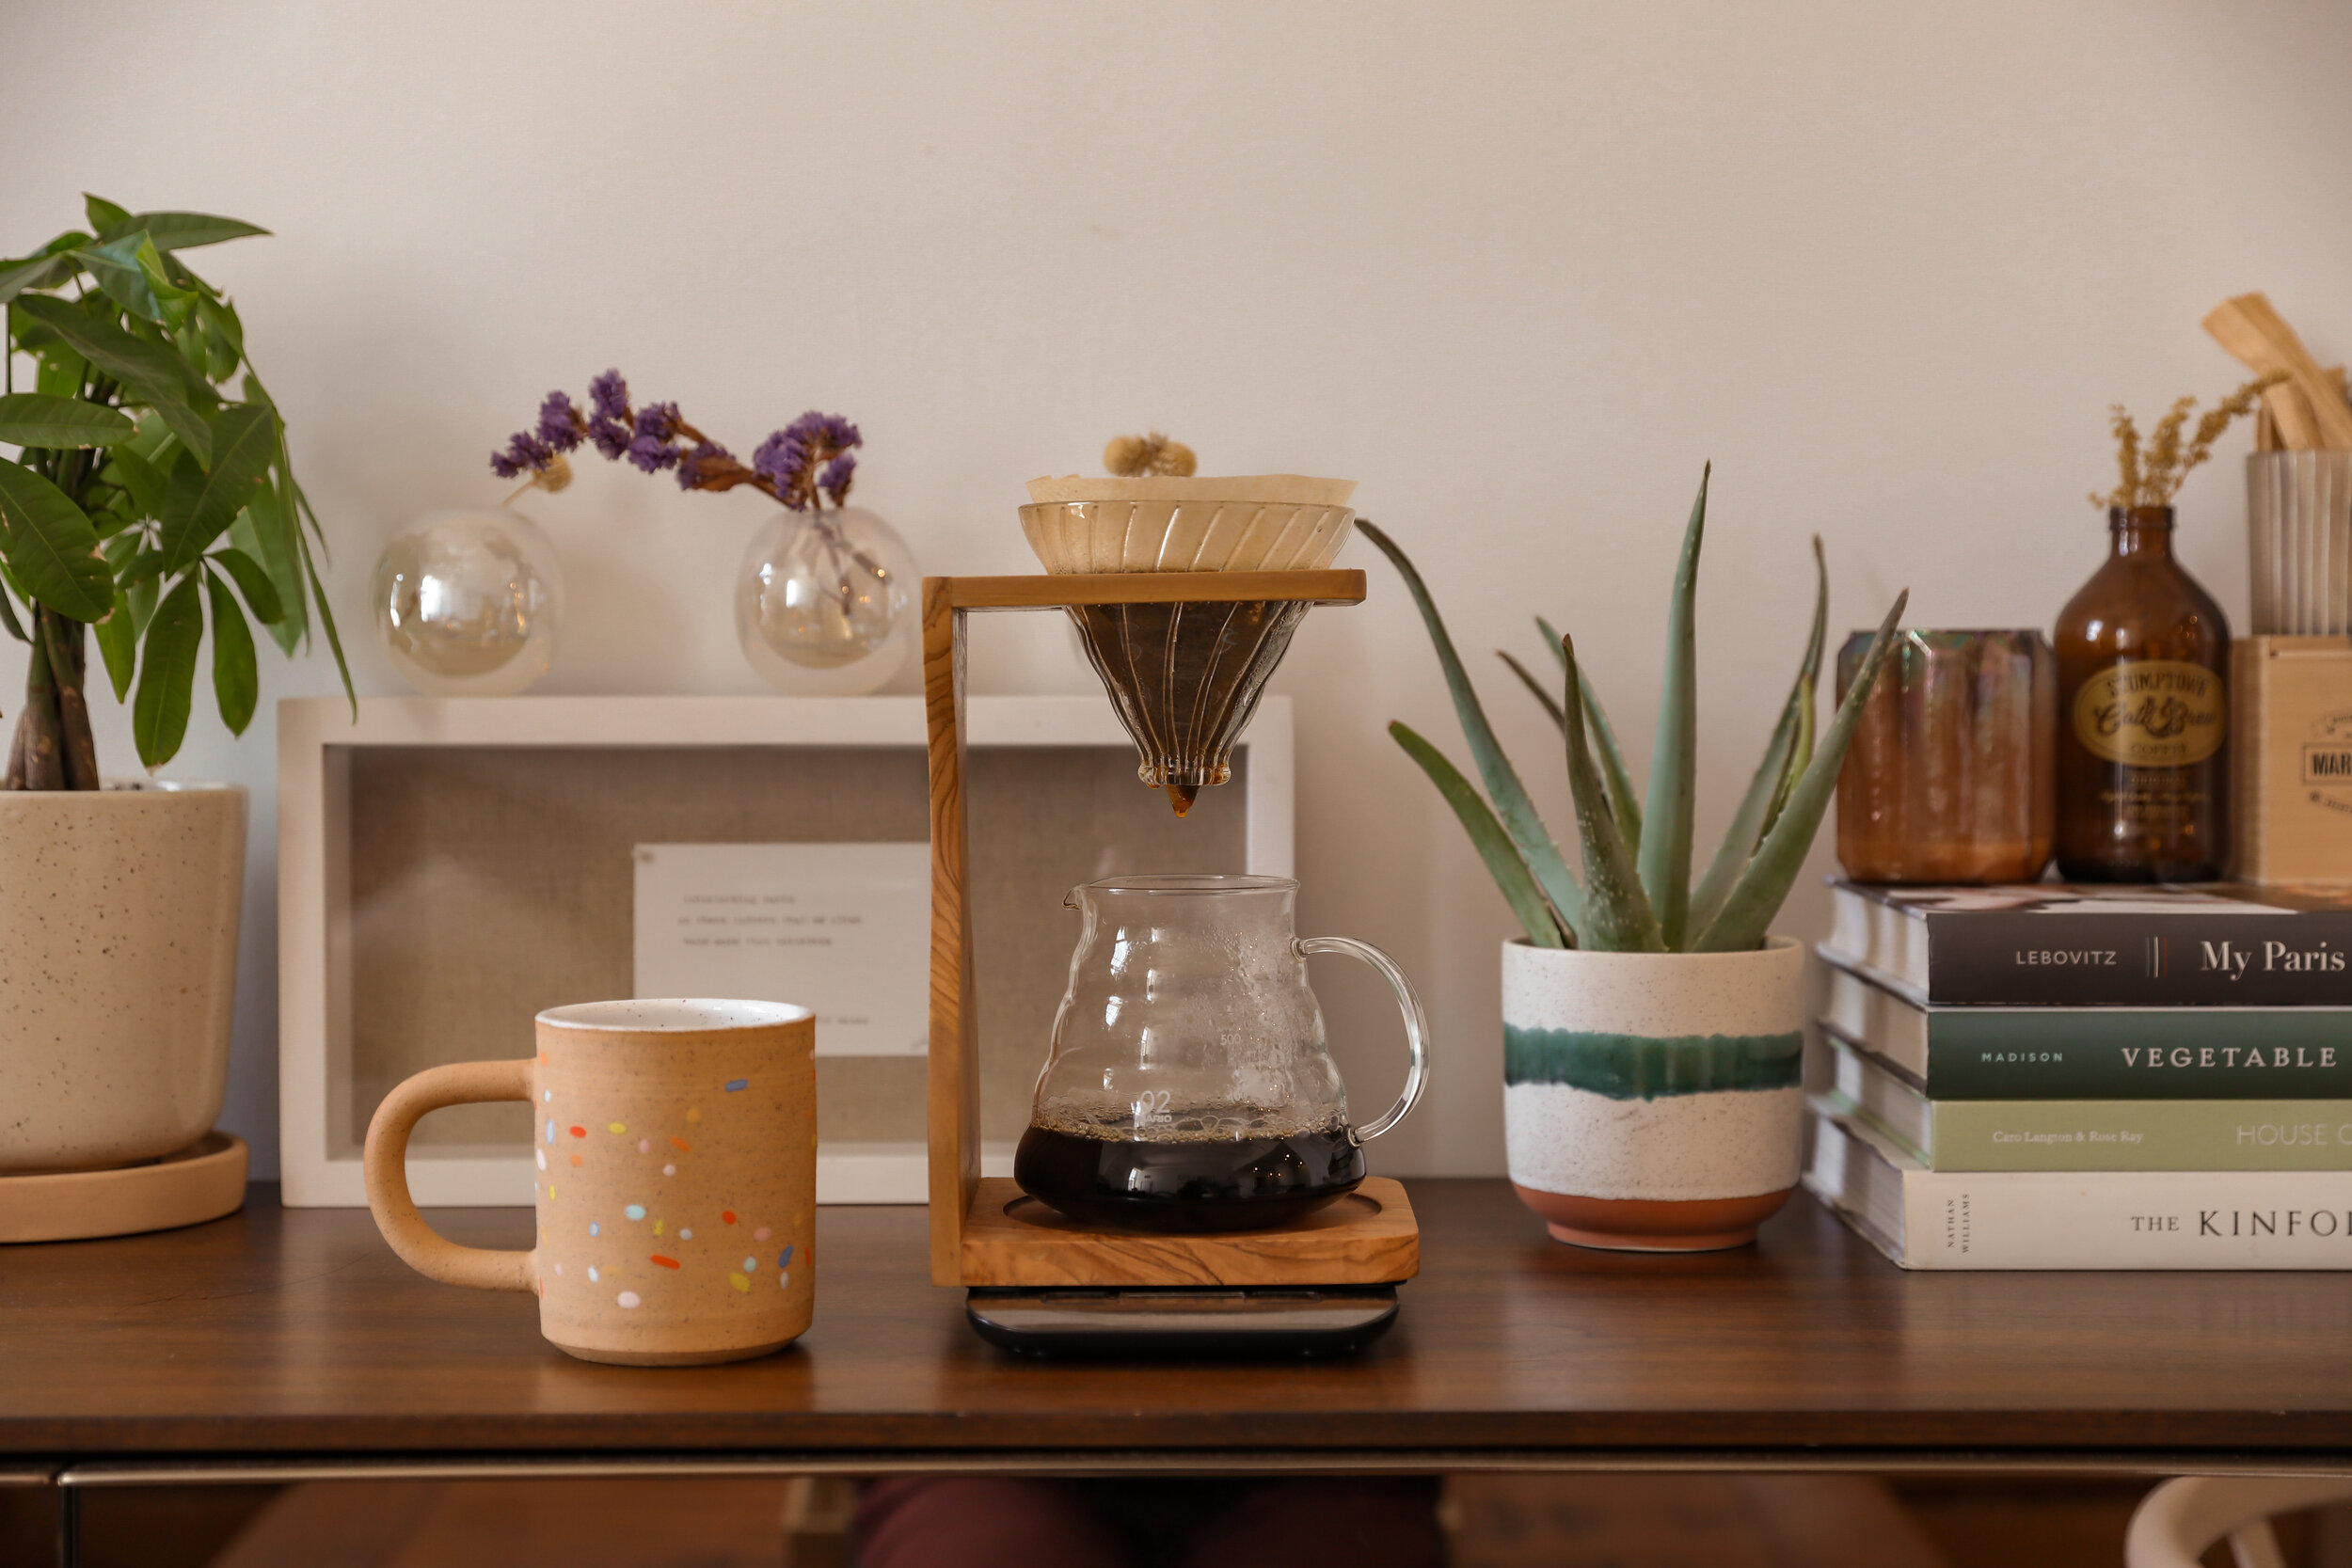
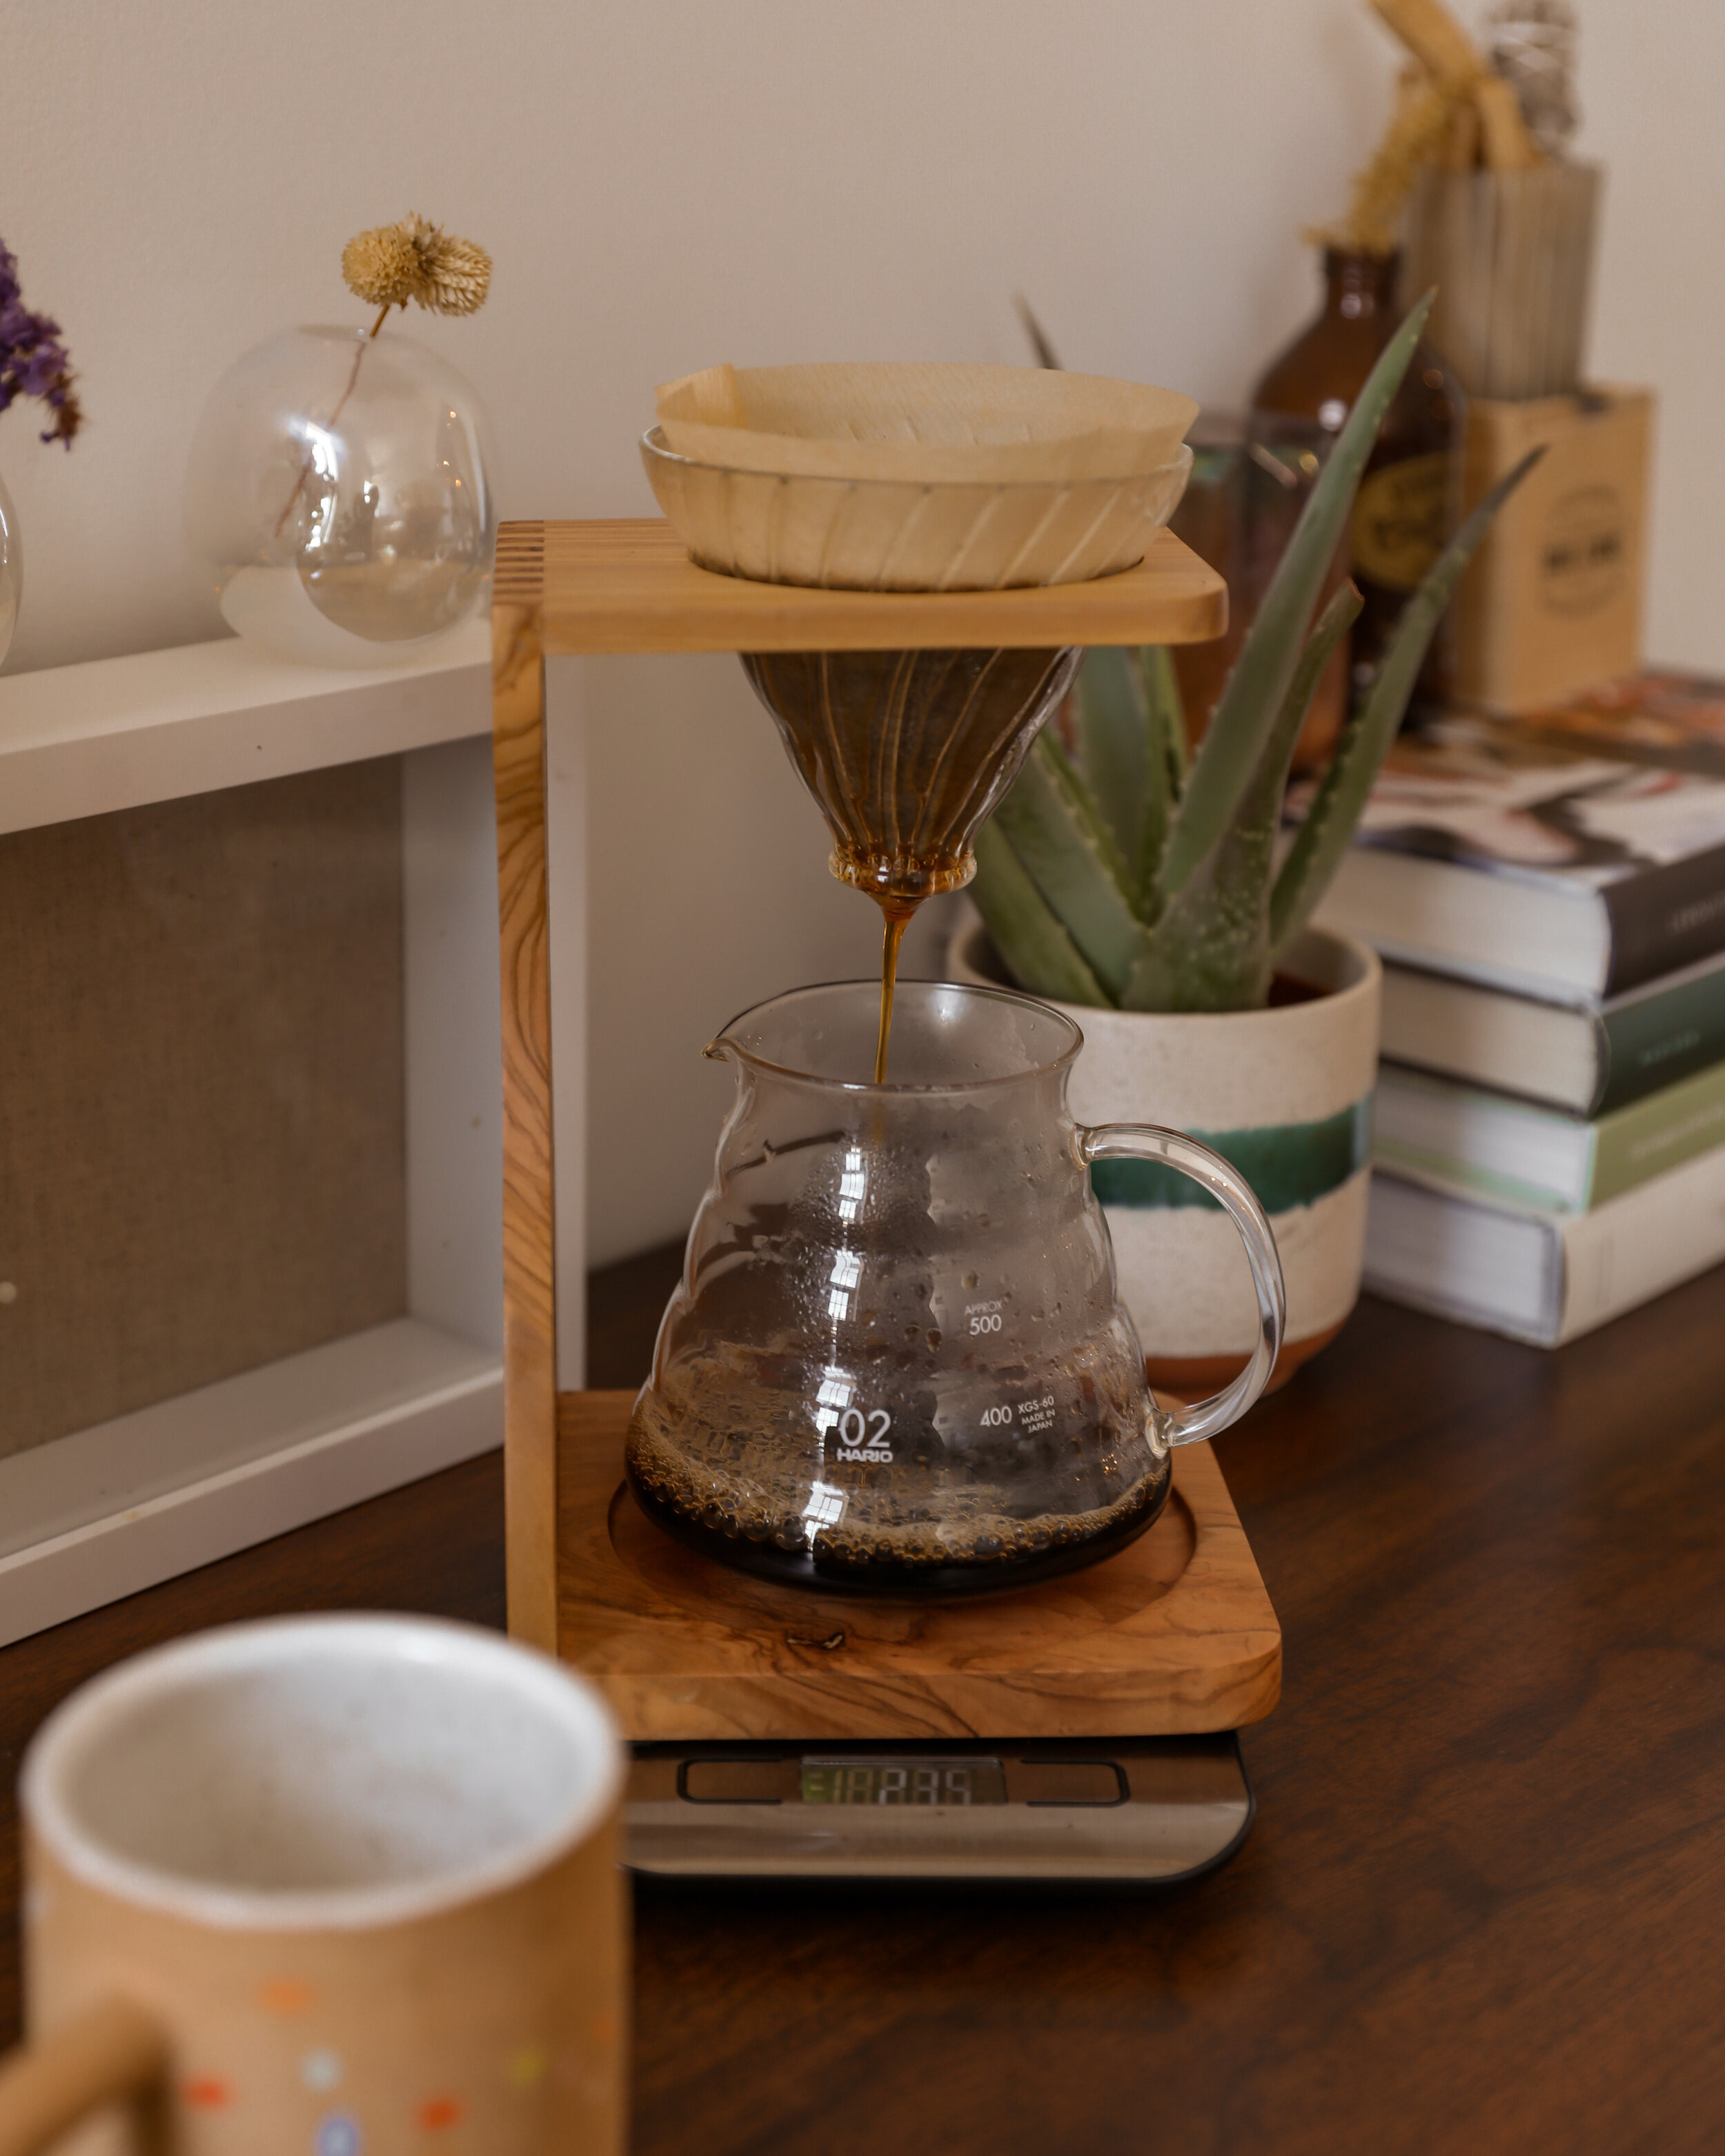
Hario V60 Brewer — This complete set with the stand is what I have. I bought this in 2016, and Amazon is currently the only retailer I’ve found this olive wood stand set on.
Hario V60 Filters — These are compostable + non-bleached, and the ones I use. You can also use a reuseable one.
Food Scale — You’d ideally want one with a timer (this is the one we have), and another non-Amazon option meant for pourovers is this one.
Kettle with Thermometer — I highly recommend a gooseneck kettle, as it will give you the most precise and easy pour, and one with a built in thermometer. I cannot recommend Fellow’s kettles enough— I used to use their classic stovetop kettle but then upgraded to their EKG electric kettle, which the excitement of using it every day has yet to fade after years somehow😍 This one by Bodum is at a much friendlier price point, and also beautiful, it just doesn’t have the precision temperature control – perfect if you’re less picky about being precise with your pourovers.
Filtered Water — Take the weight of your beans you’re brewing (in grams) and multiply it by 16 to get the amount of water you need (in grams).
Mug — Whatever works! Here’s a list of some of my favorite ceramic mug makers.
What kind of coffee beans do I need for a pourover?
This really just depends on what your preferences are, for what kind of coffee you like! Few things to note though:
Single origin vs Blends: Coffee snobs will say only do single-origin for pourovers, but I disagree! While the notes + flavor of single-origin beans definitely are highlighted best in pourovers, we love certain blends over here for our pourovers too.
Roast level + brewing: You can use anything from lighter to darker roasts to espresso beans too! BUT your choice of beans will affect what WATER TEMPERATURE you use to brew them. Generally a good range for most beans (+ blends in particular) for proper extraction is 195ºF-205ºF, but taking the science of roasting into account (lighter roast beans = more soluble than darker roast beans), you want to go lower temperatures (180ºF-190ºF range) for darker roasted beans to keep the sweetness + avoid bitterness, and then higher temps (205ºF-208ºF) for light beans that need more penetration to extract the sugars + avoid heavy acidity flavor. We really getting into the nitty gritty now, which isn’t entirely necessary, but fun when you’re upping your coffee game 🤓Ultimately, you can play around with your pourover until you find what suits your preferences best! Right now we are brewing lots of espresso beans over here at a higher temperature, but we also go through phases of using super light single-origin beans because we want fruitier flavors.

So how do I actually make a perfect pourover coffee??
People all have their different techniques and tips, but unless you're planning on entering the barista championships, this standard method below will have you very happy!
1. Bring water to 195ºF-205ºF in kettle. Place filter in the cone dripper (and if using paper filter, fold it to fit flush to the cone).
2. Grind measured beans (we do 20 grams of beans per person, usually) into a medium-fine grind (this will be different settings on different grinders) and set aside.
3. Pour hot water in the cone dripper to wet/”rinse” the filter and heat up the carafe. Discard the rinse water.
4. Place the whole pourover stand onto your scale, and zero it out so it reads “0 grams”
5. Pour coffee grounds into the cone dripper. Using the kettle, wet the grounds with just enough water to cover + wet all the grounds-- this is what they call the "bloom" period. Let it sit and bloom for about 20-30 seconds. This degasses the coffee (fresher beans will be bubblier!).
6. After the “bloom",” begin pouring water slowly in an even spiral motion, aiming for the dark areas (try to avoid pouring water directly onto the side of the filter/cone dripper). If using a gooseneck kettle, you can usually evenly pour the whole time to keep the water controlled and level.
7. Continue pouring slowly until your scale registers amount of beans (in grams) x 16 (i.e. if using 20 grams of beans, you’ll end up with 340 grams of water [20 x 16 = 320, then add it to the 20g of beans = 340g]). Once the coffee is done brewing, remove the brewer and pour into a mug-- enjoy!
Some additional tips to really hit it out of the park:
Make sure you're using the right size capacity of a pourover for the amount of cups you plan to consistently brew. Mine is the Hario size 02 (cone, pot, filters, and stand included in this set). Too little grinds in a big cone and too many grinds in a small cone don't result in ideal distribution of grinds in water and a less quality brew. Size 02 is perfect for 1-2 cups.
Use filtered water, as this definitely affects the taste of your brew. If you’re interested in an undersink RO filtration system, I highly recommend this one. I share more about why I chose that one, in this video.
Use a gooseneck kettle to be able to control the flow of your water. My EKG electric kettle was an investment for sure, but the ability to control the temperature to the precise digit is so helpful, and the look of it on the counter makes me so happy every single day
Keep your grounds OFF of the side of the filter-- even extraction is key. Don't pour water on the side of the filters, pour on the grounds).
Pour slower with newer coffee (more freshly roasted) and more aggressively with older coffee-- you'll notice there is less bubbling and degassing in older coffee beans and it can make for an uneven extraction, so get those grinds swirling with a more aggressive pour. With fresher beans, take it easy as there will be plenty of action on their own.