2 Homemade Hazelnut Milk Drinks

I believe my exact text to my friend after making one of these drinks was, "I have found the nectar of the Gods!!" While I have a tendency to be dramatic over text, this was really heavenly.
Making hazelnut milk was the next on my list of nut milks I wanted to tackle. I've always had a soft spot for hazelnuts, as I grew up smelling them in the mornings because my mom loved hazelnut coffee. But much to my chagrin, I grew up and found out that most hazelnut flavors in coffee come artificial flavorings rather than the nut (technically a seed) itself.

The amount of ways I could use this hazelnut milk is actually a bit obnoxious. I don't have much else to say about this wickedly versatile hazelnut milk because I want to let the recipes below speak for themselves. This post essentially has three recipes wrapped up in one- enjoy!
Homemade Hazelnut Milk Two Ways:
Chocolate-Hazelnut Milk & Iced Hazelnut Latte
*the majority of this recipe's steps are taken from my homemade almond milk guide.

Ingredients
1 to 1.5 cup/s Raw Hazelnuts
3 cups of Water
*If you want to make a sweetened version, I recommend using a date or two.
*optional for taste: Pinch of Himalayan Pink Salt and/or ground cinnamon
SPECIAL TOOLS NEEDED: Blender, Cheesecloth or Nut Milk Bag


Recipe
For Basic Nut Milk- for variations, see bottom of initial recipe
1. Place hazelnuts in a bowl, fill with water until submerged. Cover with plastic wrap or an airtight cover and leave to soak overnight in room temperature.
*if you want the sweetened version, place a few dates in here too, and keep it with the hazelnuts throughout the recipe.
2. Drain and lightly rinse hazelnuts. Place in a blender with the water and pulverize until relatively smooth (~30 seconds or higher depending on the power of your blender).
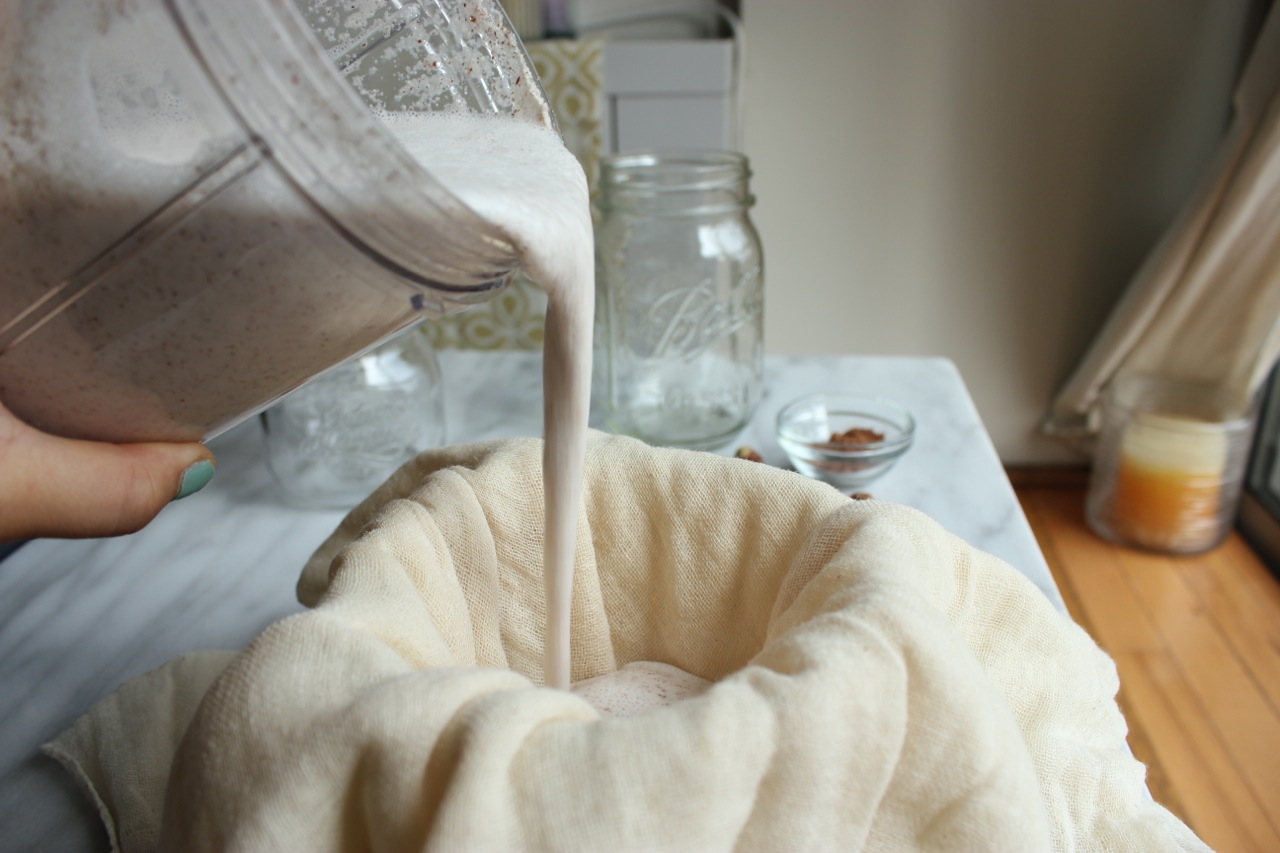
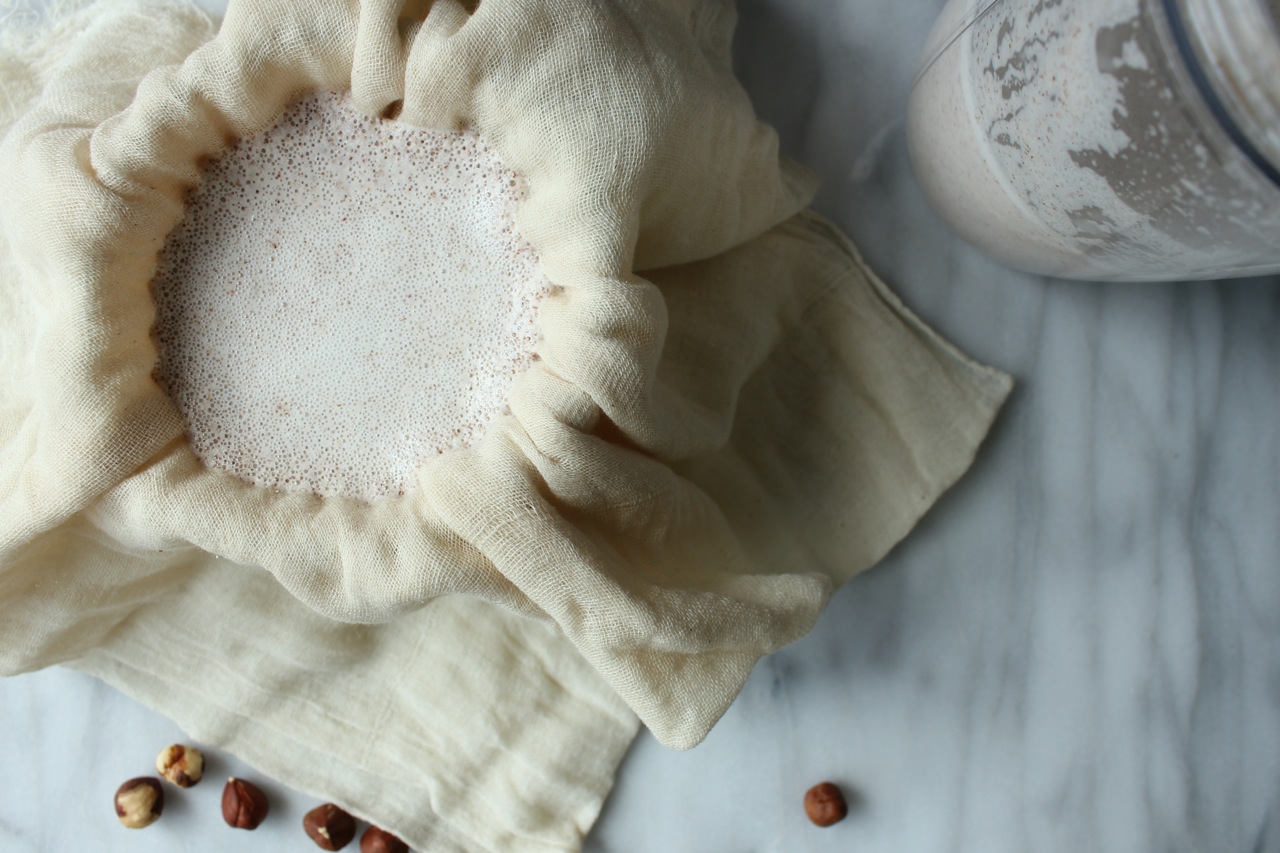
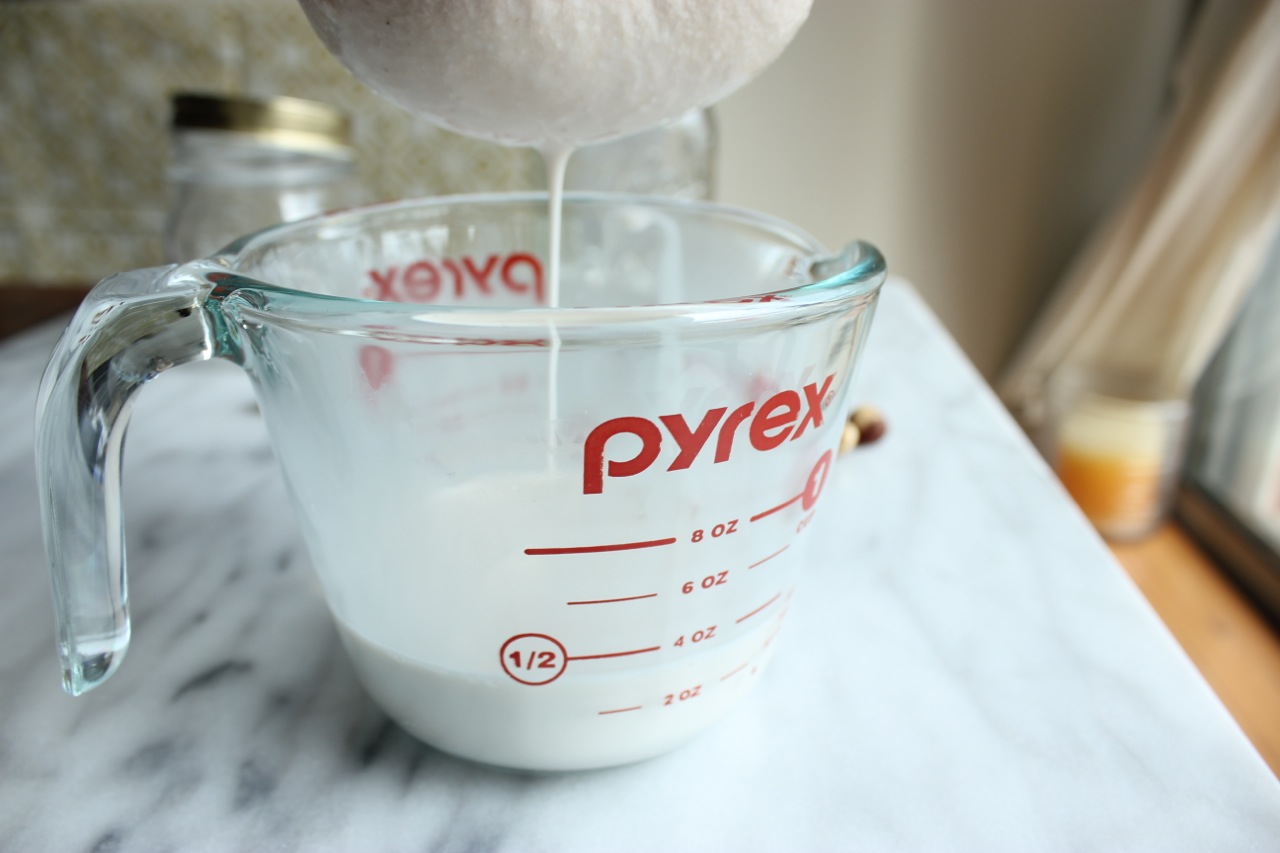
3. In a small bowl or measuring cup, drape a double-layered folded cheesecloth into the bowl/cup. If you're using a nutbag, place open nutbag in a bowl.
4. Pour blended hazelnut mixture into the cheesecloth-covered bowl/cup or nutbag.
*I prefer using a cheesecloth because of the better consistency I tend to get (creamier), and I use a measuring cup- therefore, I repeat steps 4&5 two-three times because I can't fit the entire mixture in there at once.
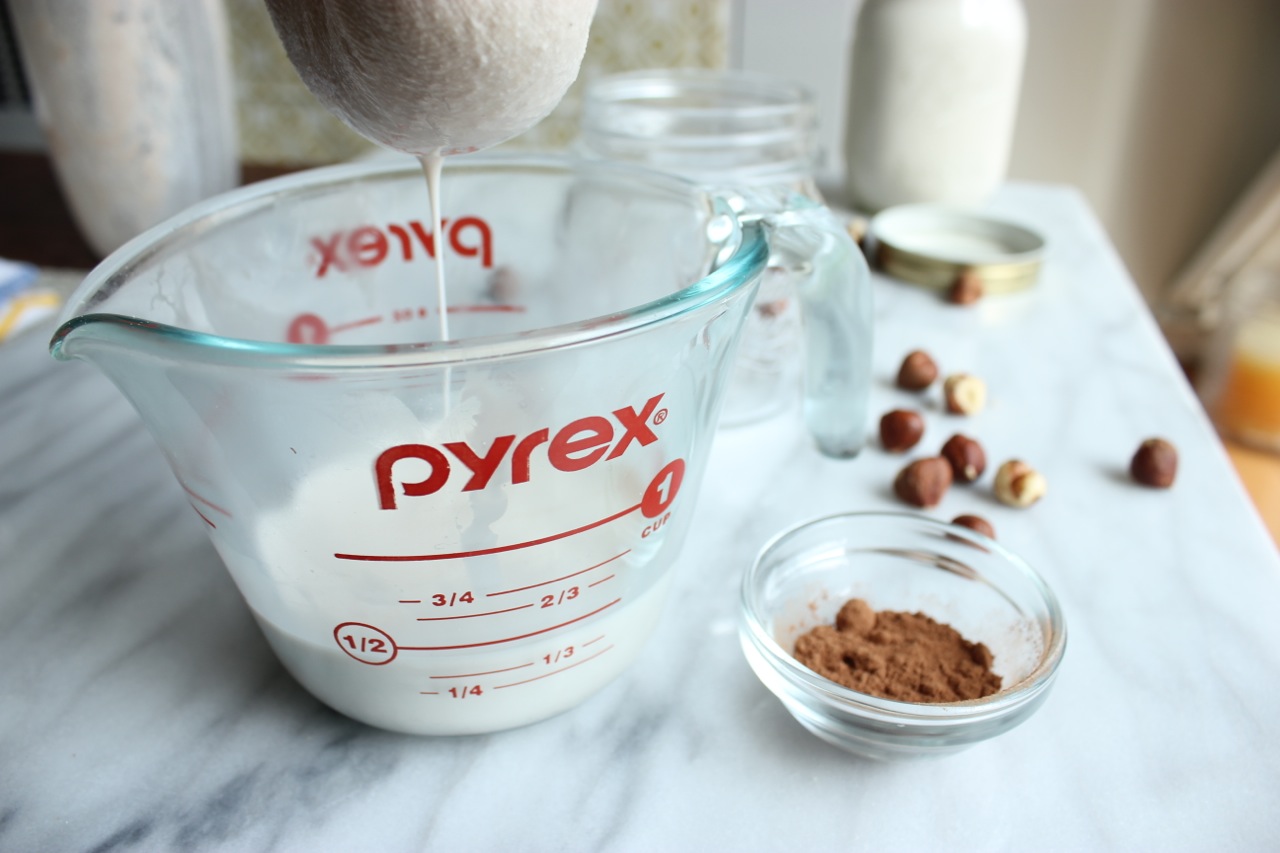
5. If using cheesecloth- pour only a manageable portion in at a time, and gently wring the cheesecloth to get every bit of that milk out.
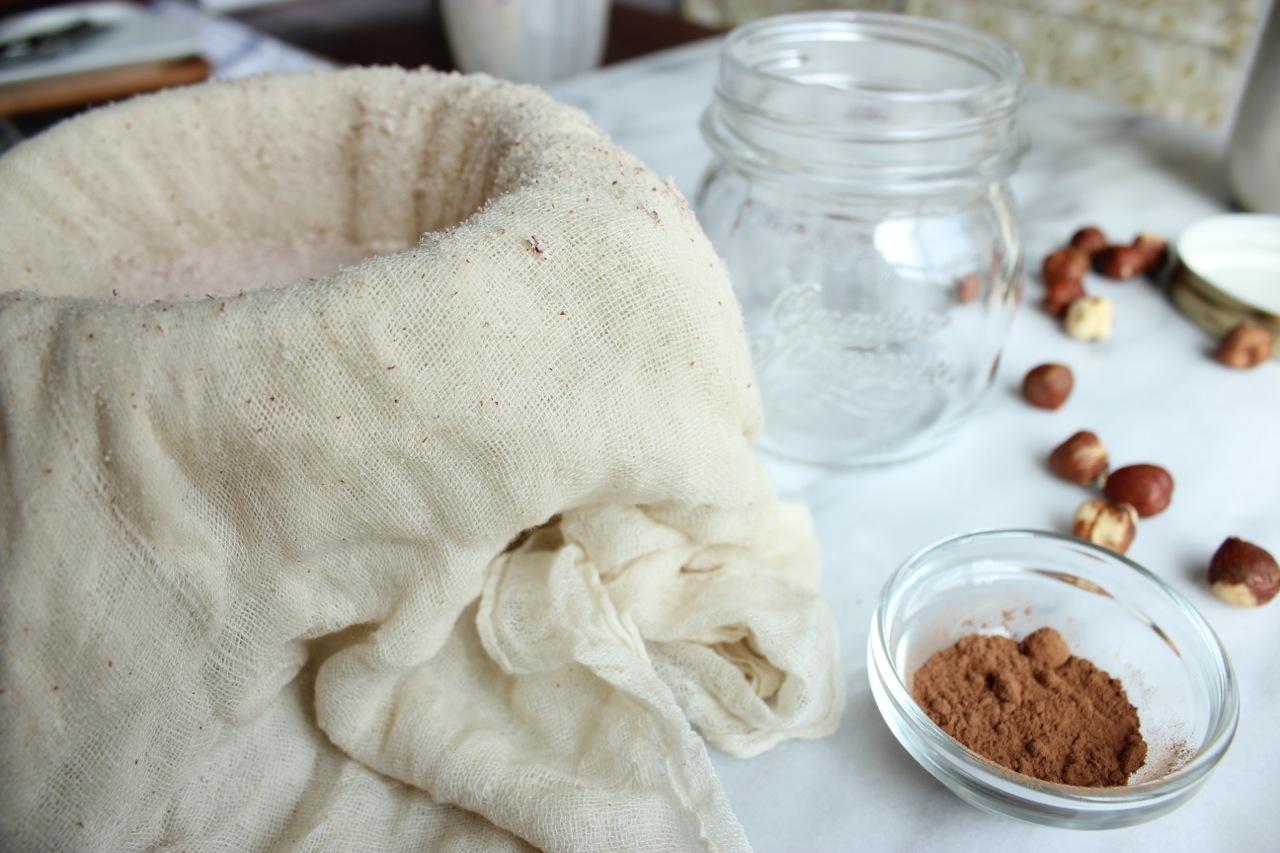
If using a nutbag, you can let it hang over the bowl by tying it somewhere above, or you can also gently wring it- be careful with wringing the nutbag though, as it tends to get hazelnut chunks in the milk if you squeeze too forcefully.
6. Pour hazelnut milk into an airtight container (add salt/spice here if you want to) and store for up to 3-4 days. I find mason jars to be best for this- make sure to shake it up before serving as contents do separate when still for awhile.
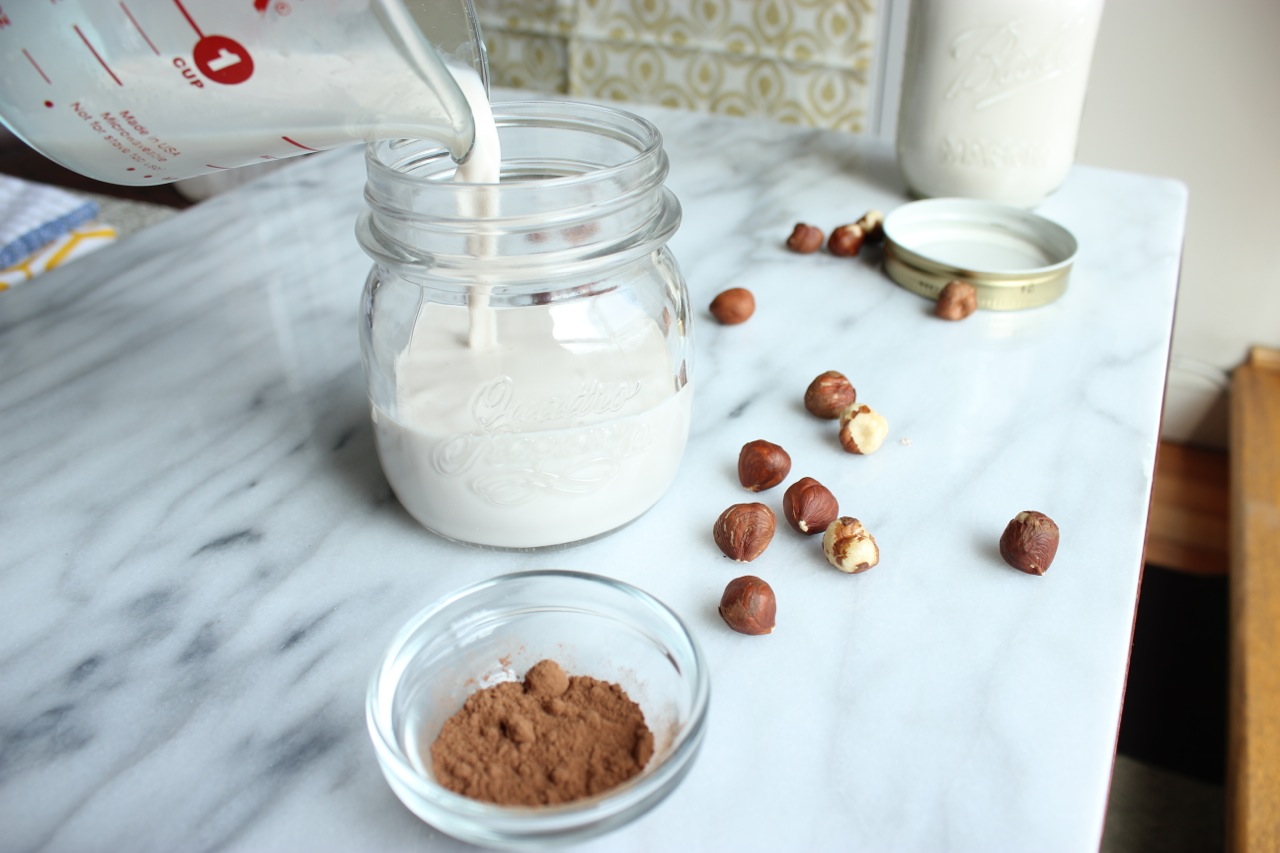
1. For Chocolate Hazelnut Milk (aka drinkable not-health hazardous Nutella):
In step 2 in the recipe above, simply add ~2 tablespoons (or more if you want it extra chocolatey) of unsweetened cocoa powder. Proceed with the recipe as stated above.
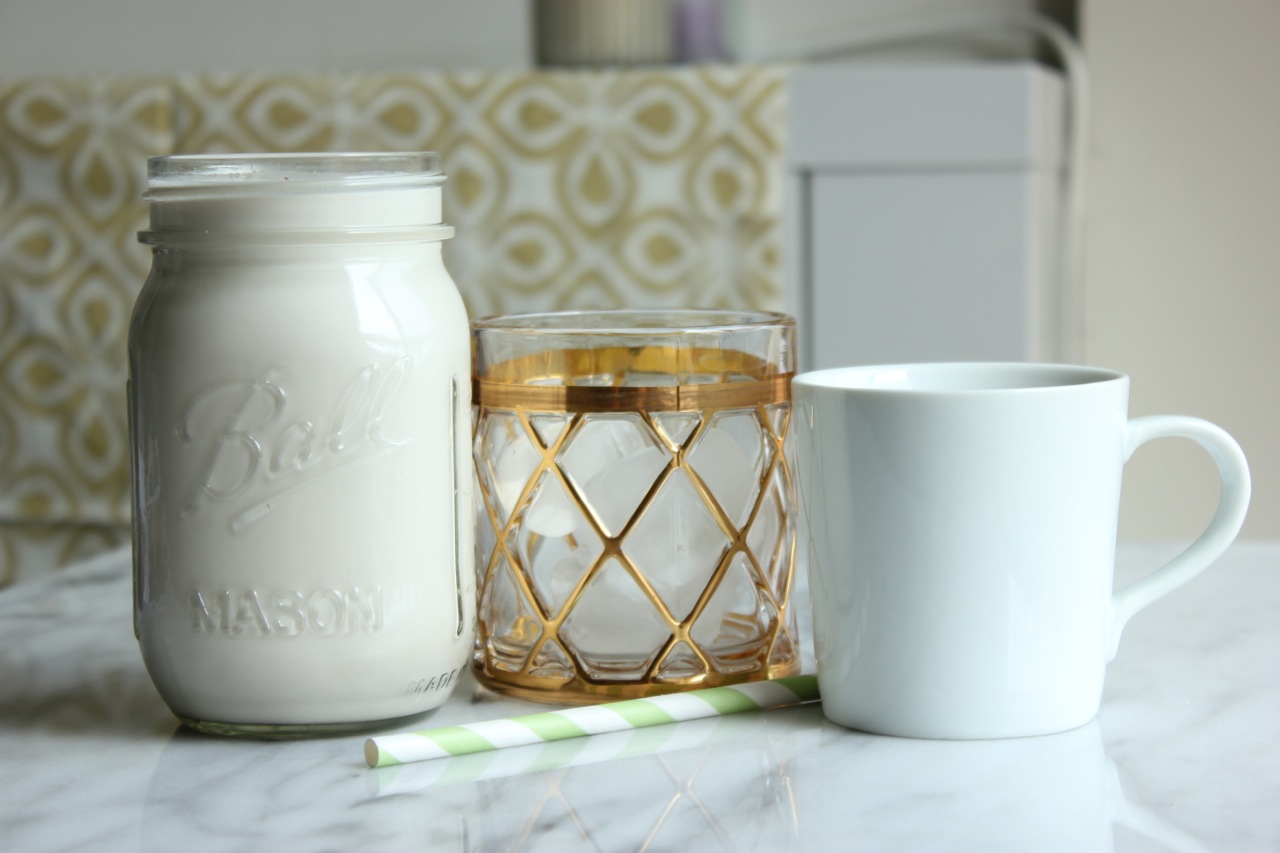
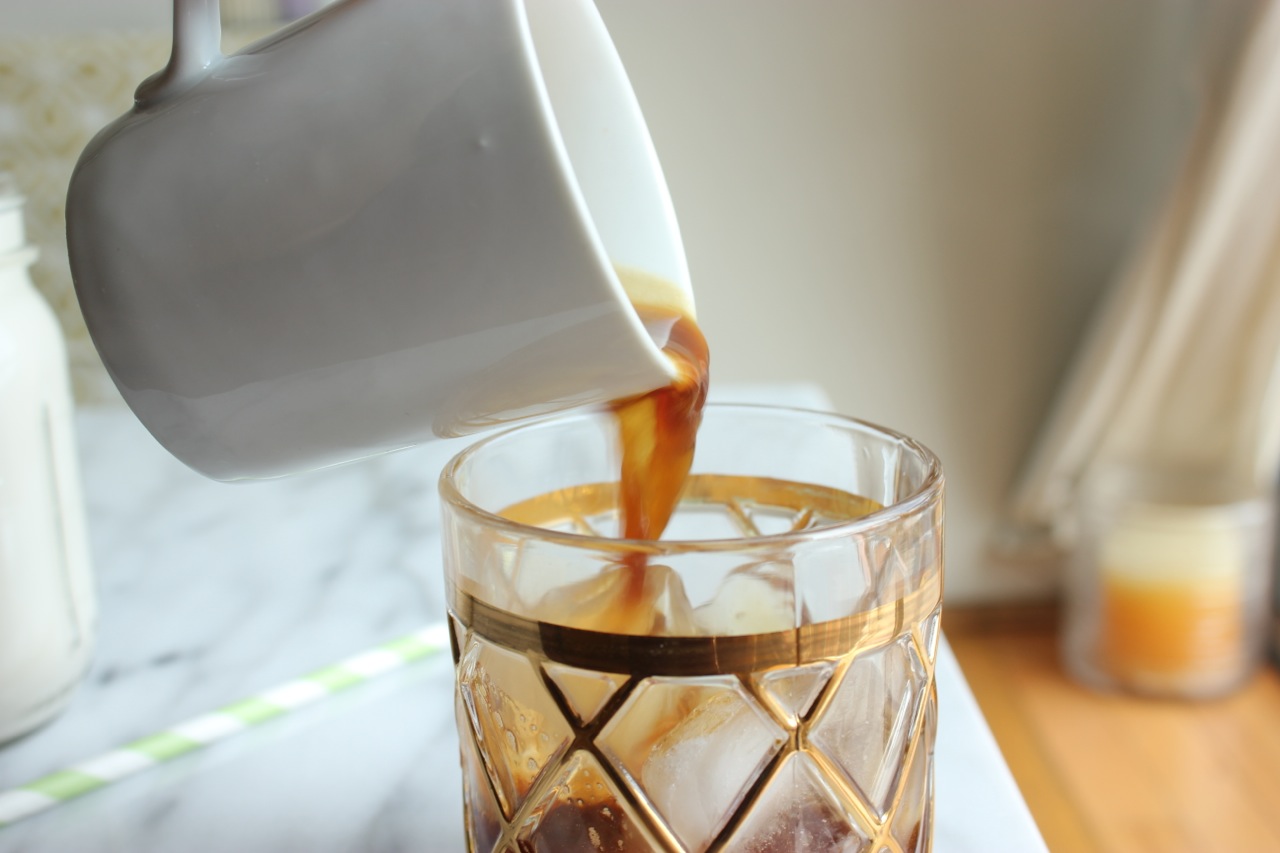
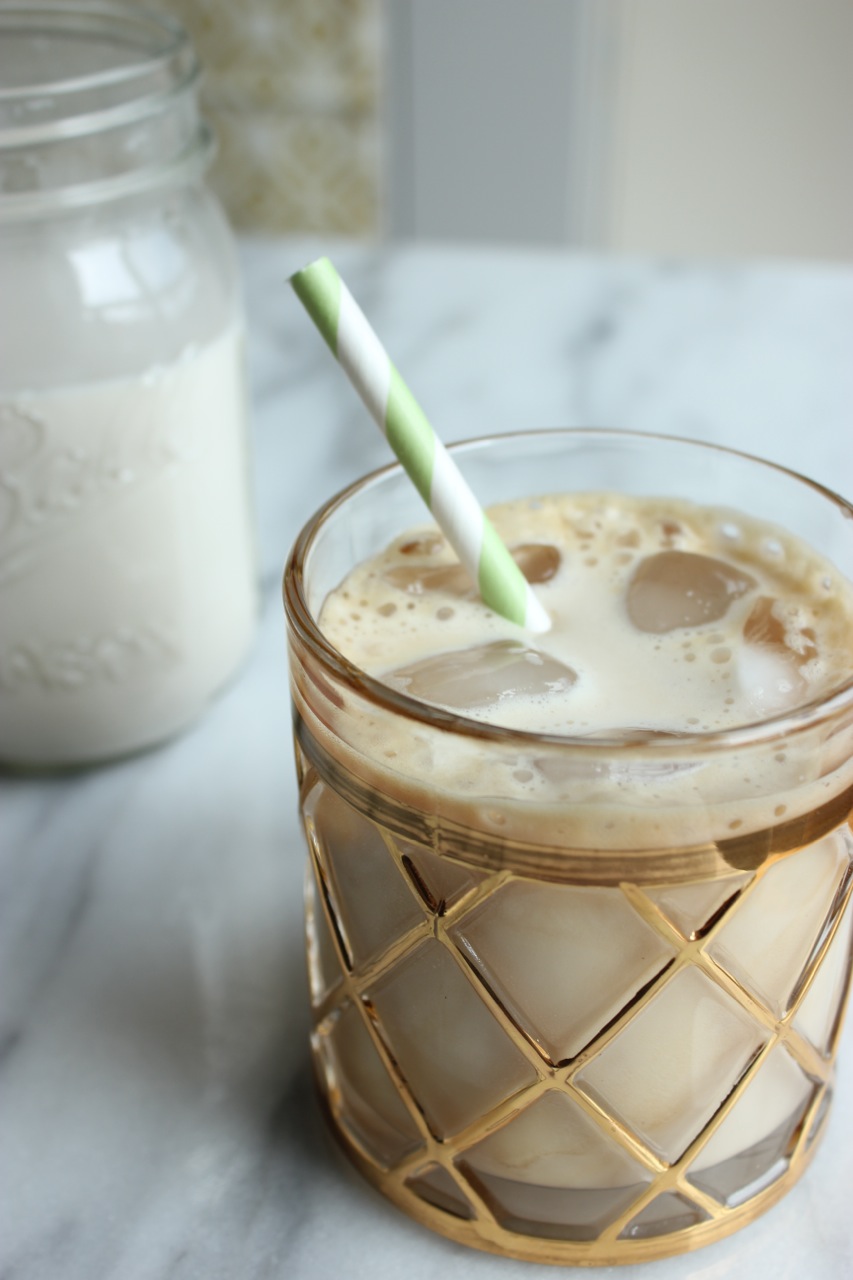
2. For Iced Hazelnut Latte:
After completing basic hazelnut milk recipe, you can use the milk to create the best iced hazelnut latte ever. Simple place a few ice cubes in a glass, pour about 1 cup/8oz of hazelnut milk over the ice, and add a shot of espresso. Stir, serve, and praise the Lord!