
My 1st Cooking Class: Haven's Kitchen & Recipes

I've had a couple readers and friends ask me recently where or from whom I learned to cook. Truth is, I just learned as I stumbled along.
I am the oddest self-made cook. My culinary-loving friends all look at me like I'm crazy when I say I don't have a real whisk (just use the whisk attachment that came with my hand mixer), and only got a real chef's knife two months ago (was using a Ikea utility knife for everything prior to that)... Shame, shame.

Kiddo Iron Chef wannabe
When I was little, I was always curious about the kitchen because that's where my mom and aunts would congregate. But I was always told to back away because of the dangerously hot pots and sharp knives being carried about, so the kitchen seemed like this magical place where I wasn't allowed. Naturally my stubborn self nudged into the roped-off kitchen. So my aunt made me my first apron, and I was allowed to knead dough and cut very small and safer items like mushrooms.
It has been a long time bucket list item of mine to finally take a cooking class, and one day even attend a full-on course at a culinary school.
My friend MC, who I made that bomb pistachio ice cream with, had been raving about the cooking classes at Haven's Kitchen. I perused their website and Instagram for less than 30 seconds before immediately calling my mom to tell her this is what I wanted for my birthday present this year.
Haven's Kitchen
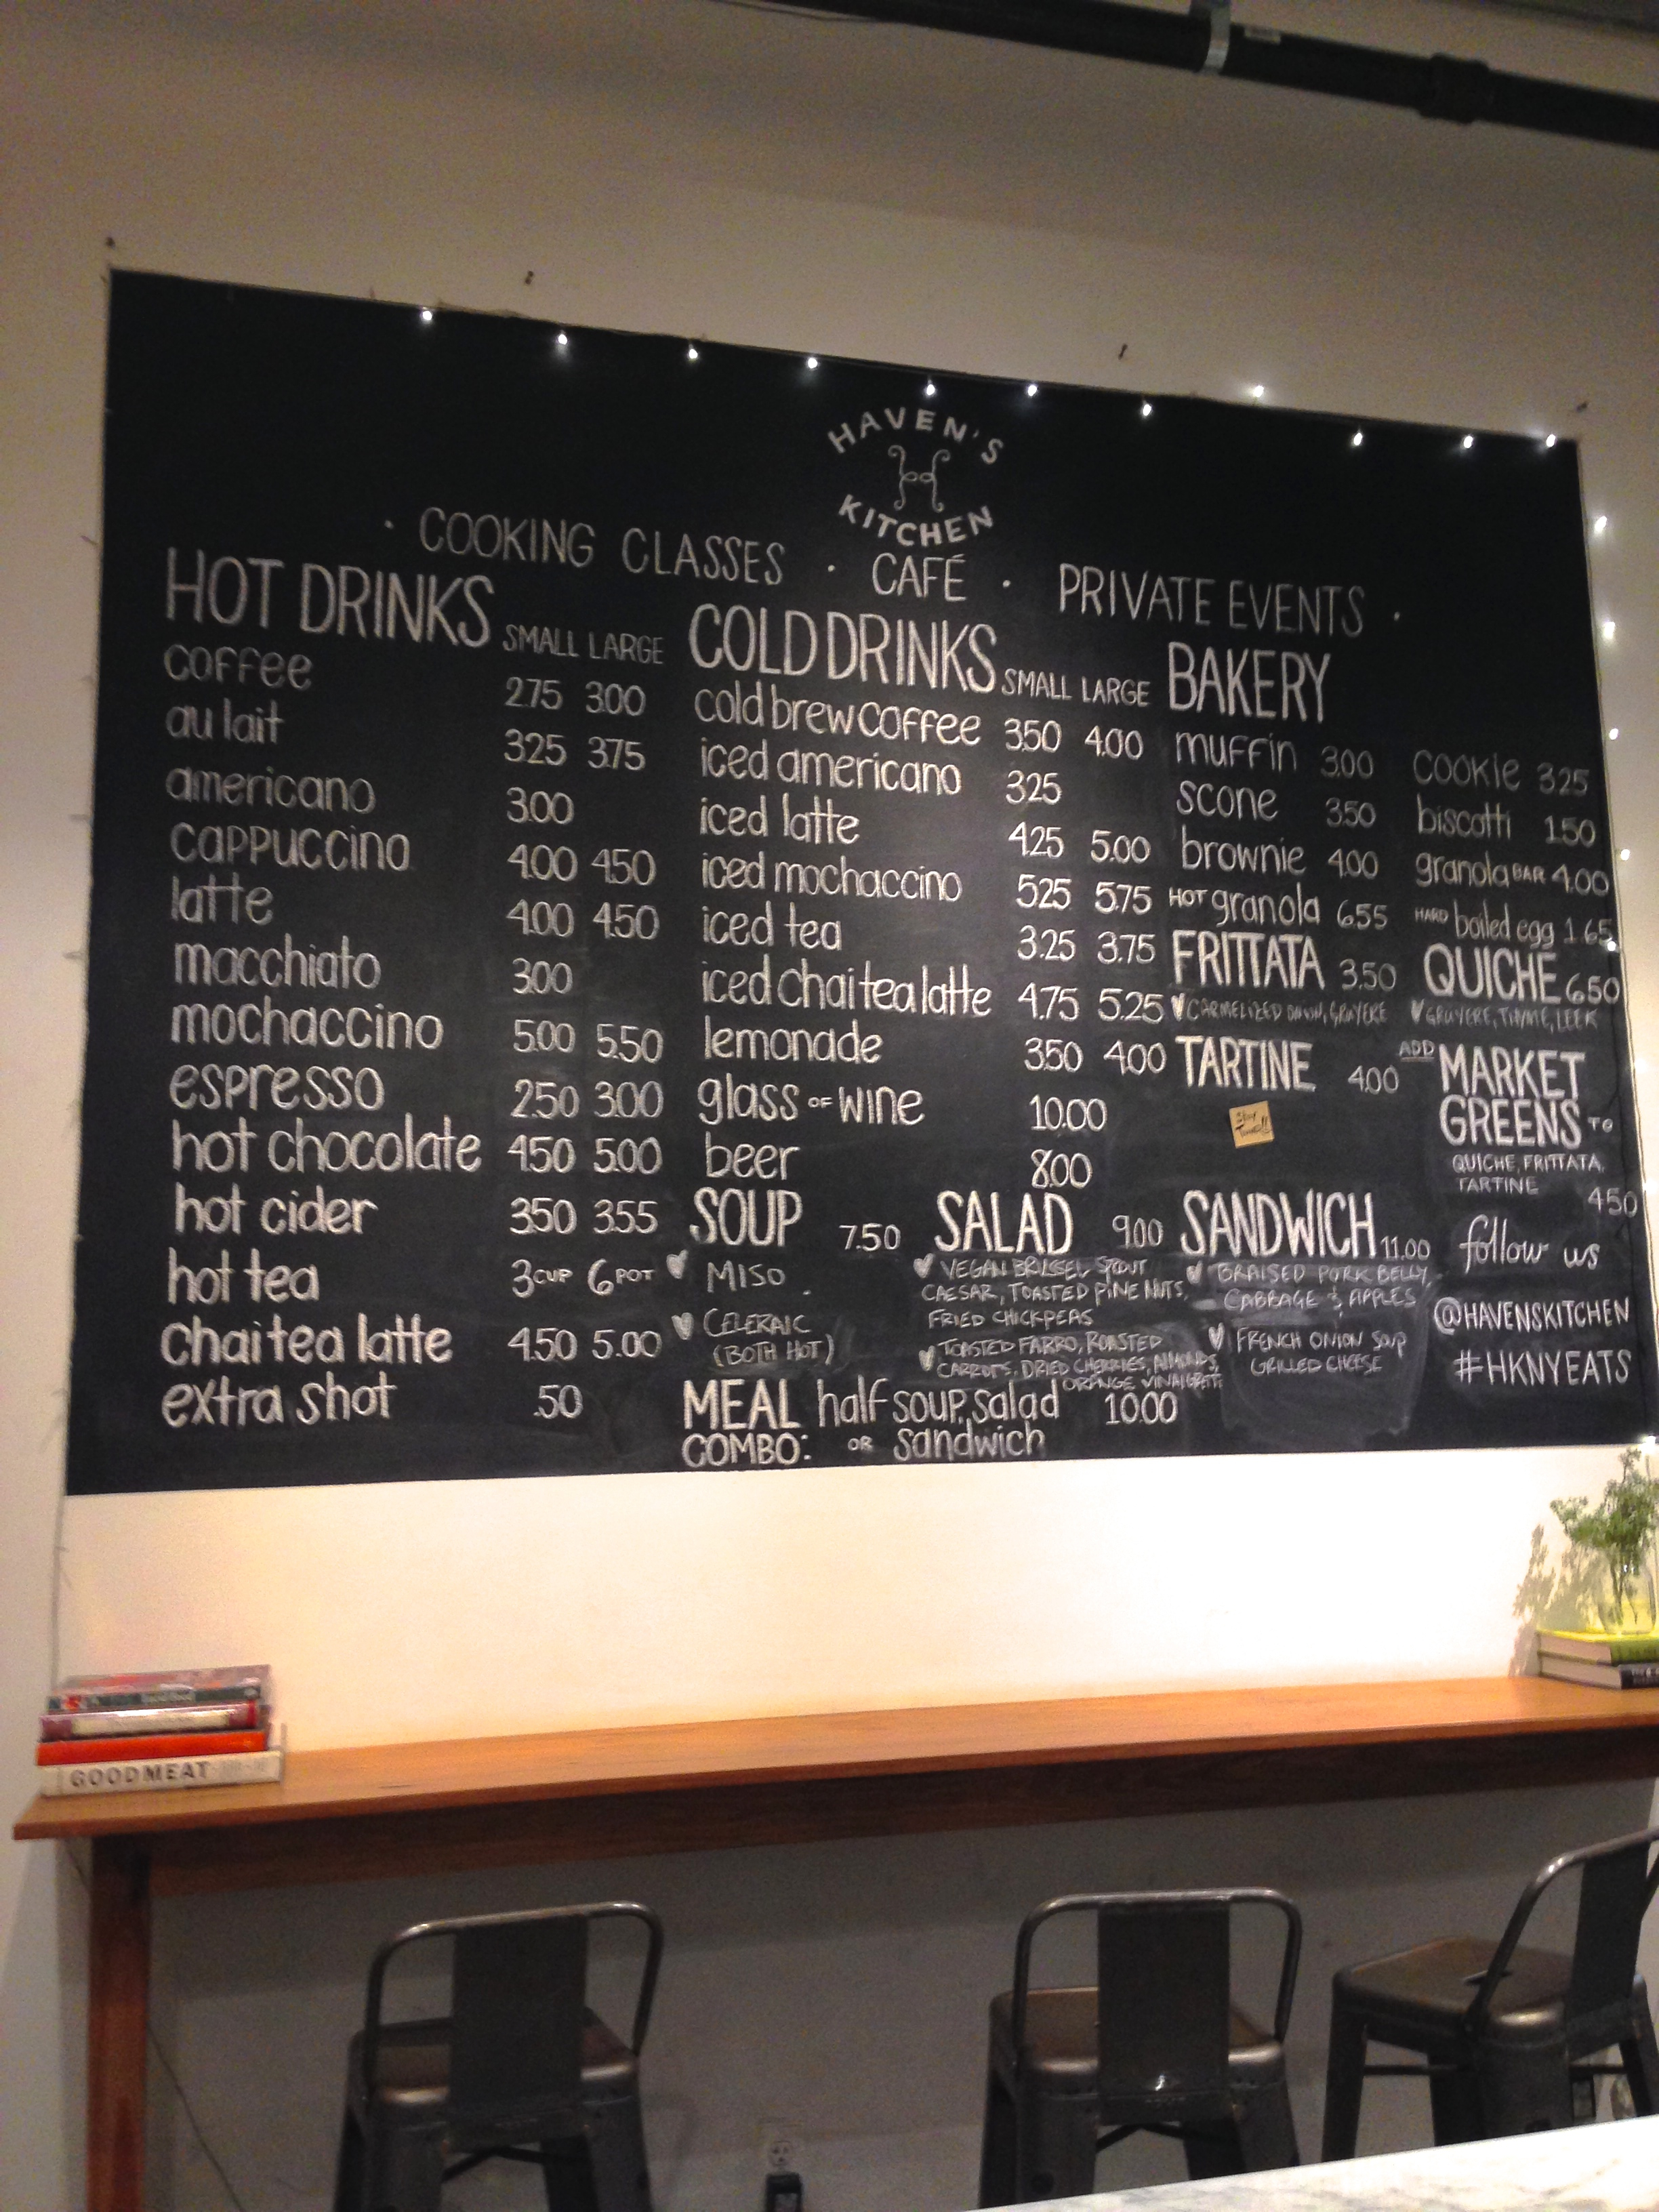
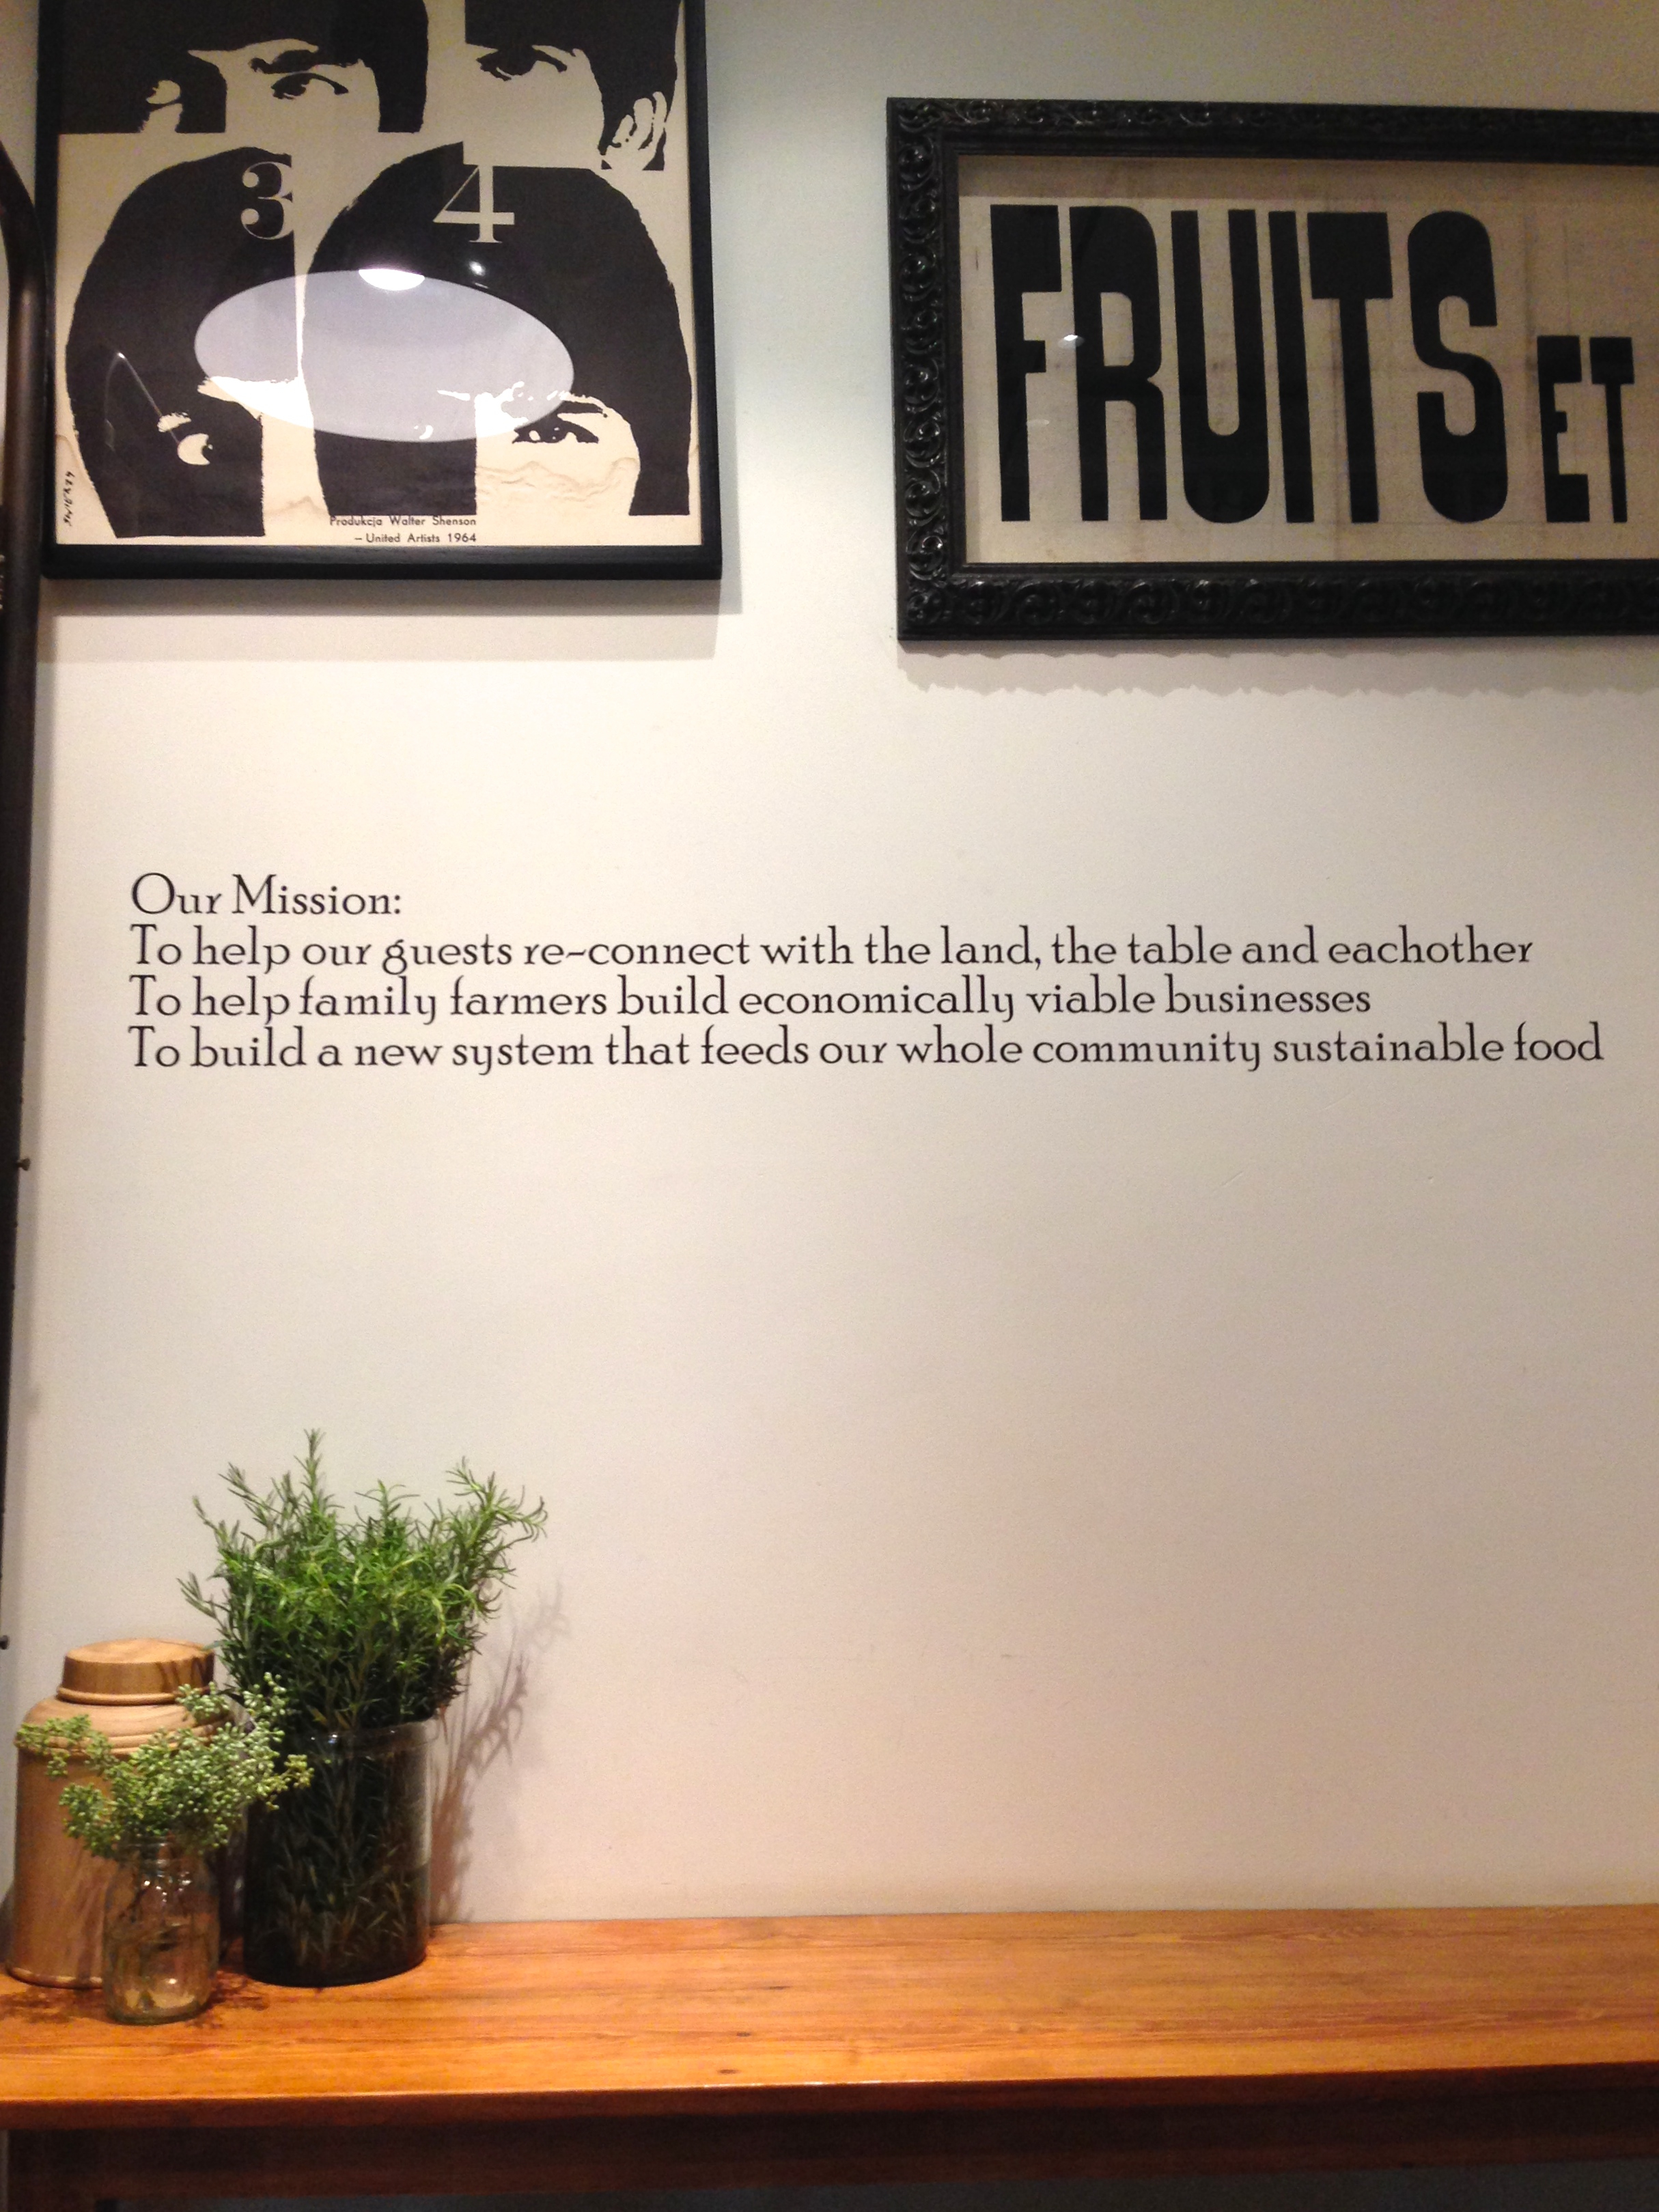
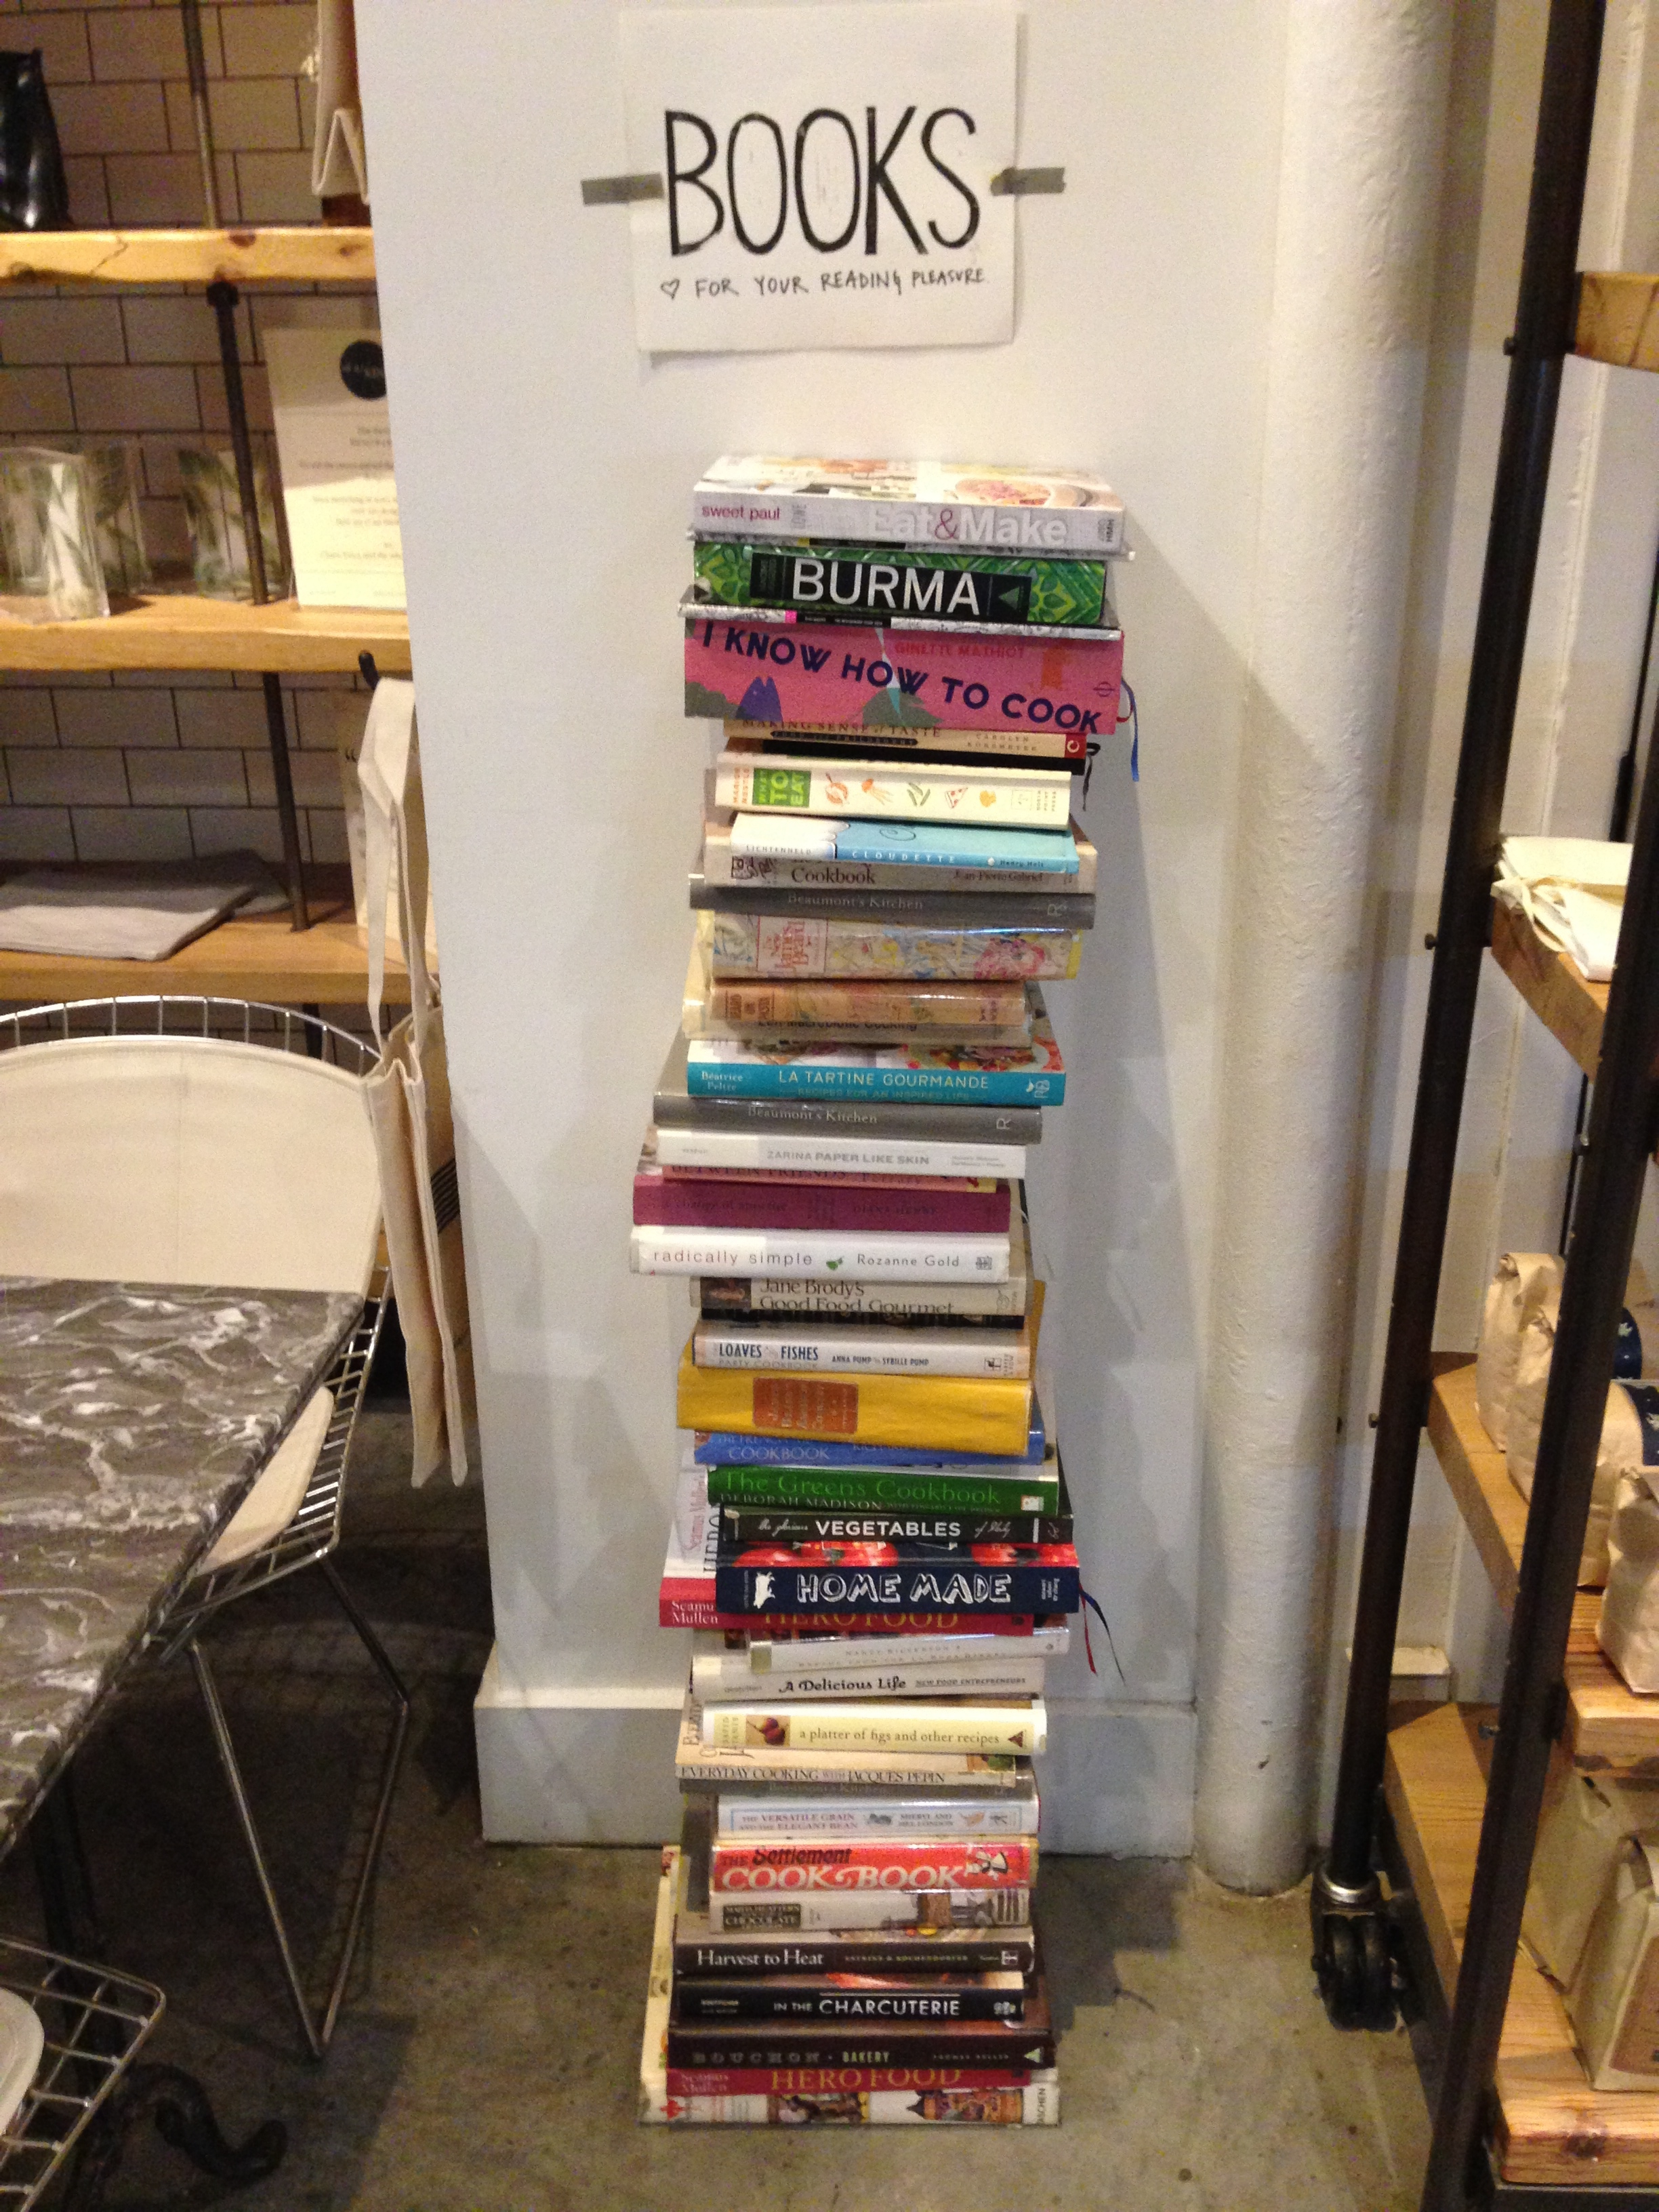
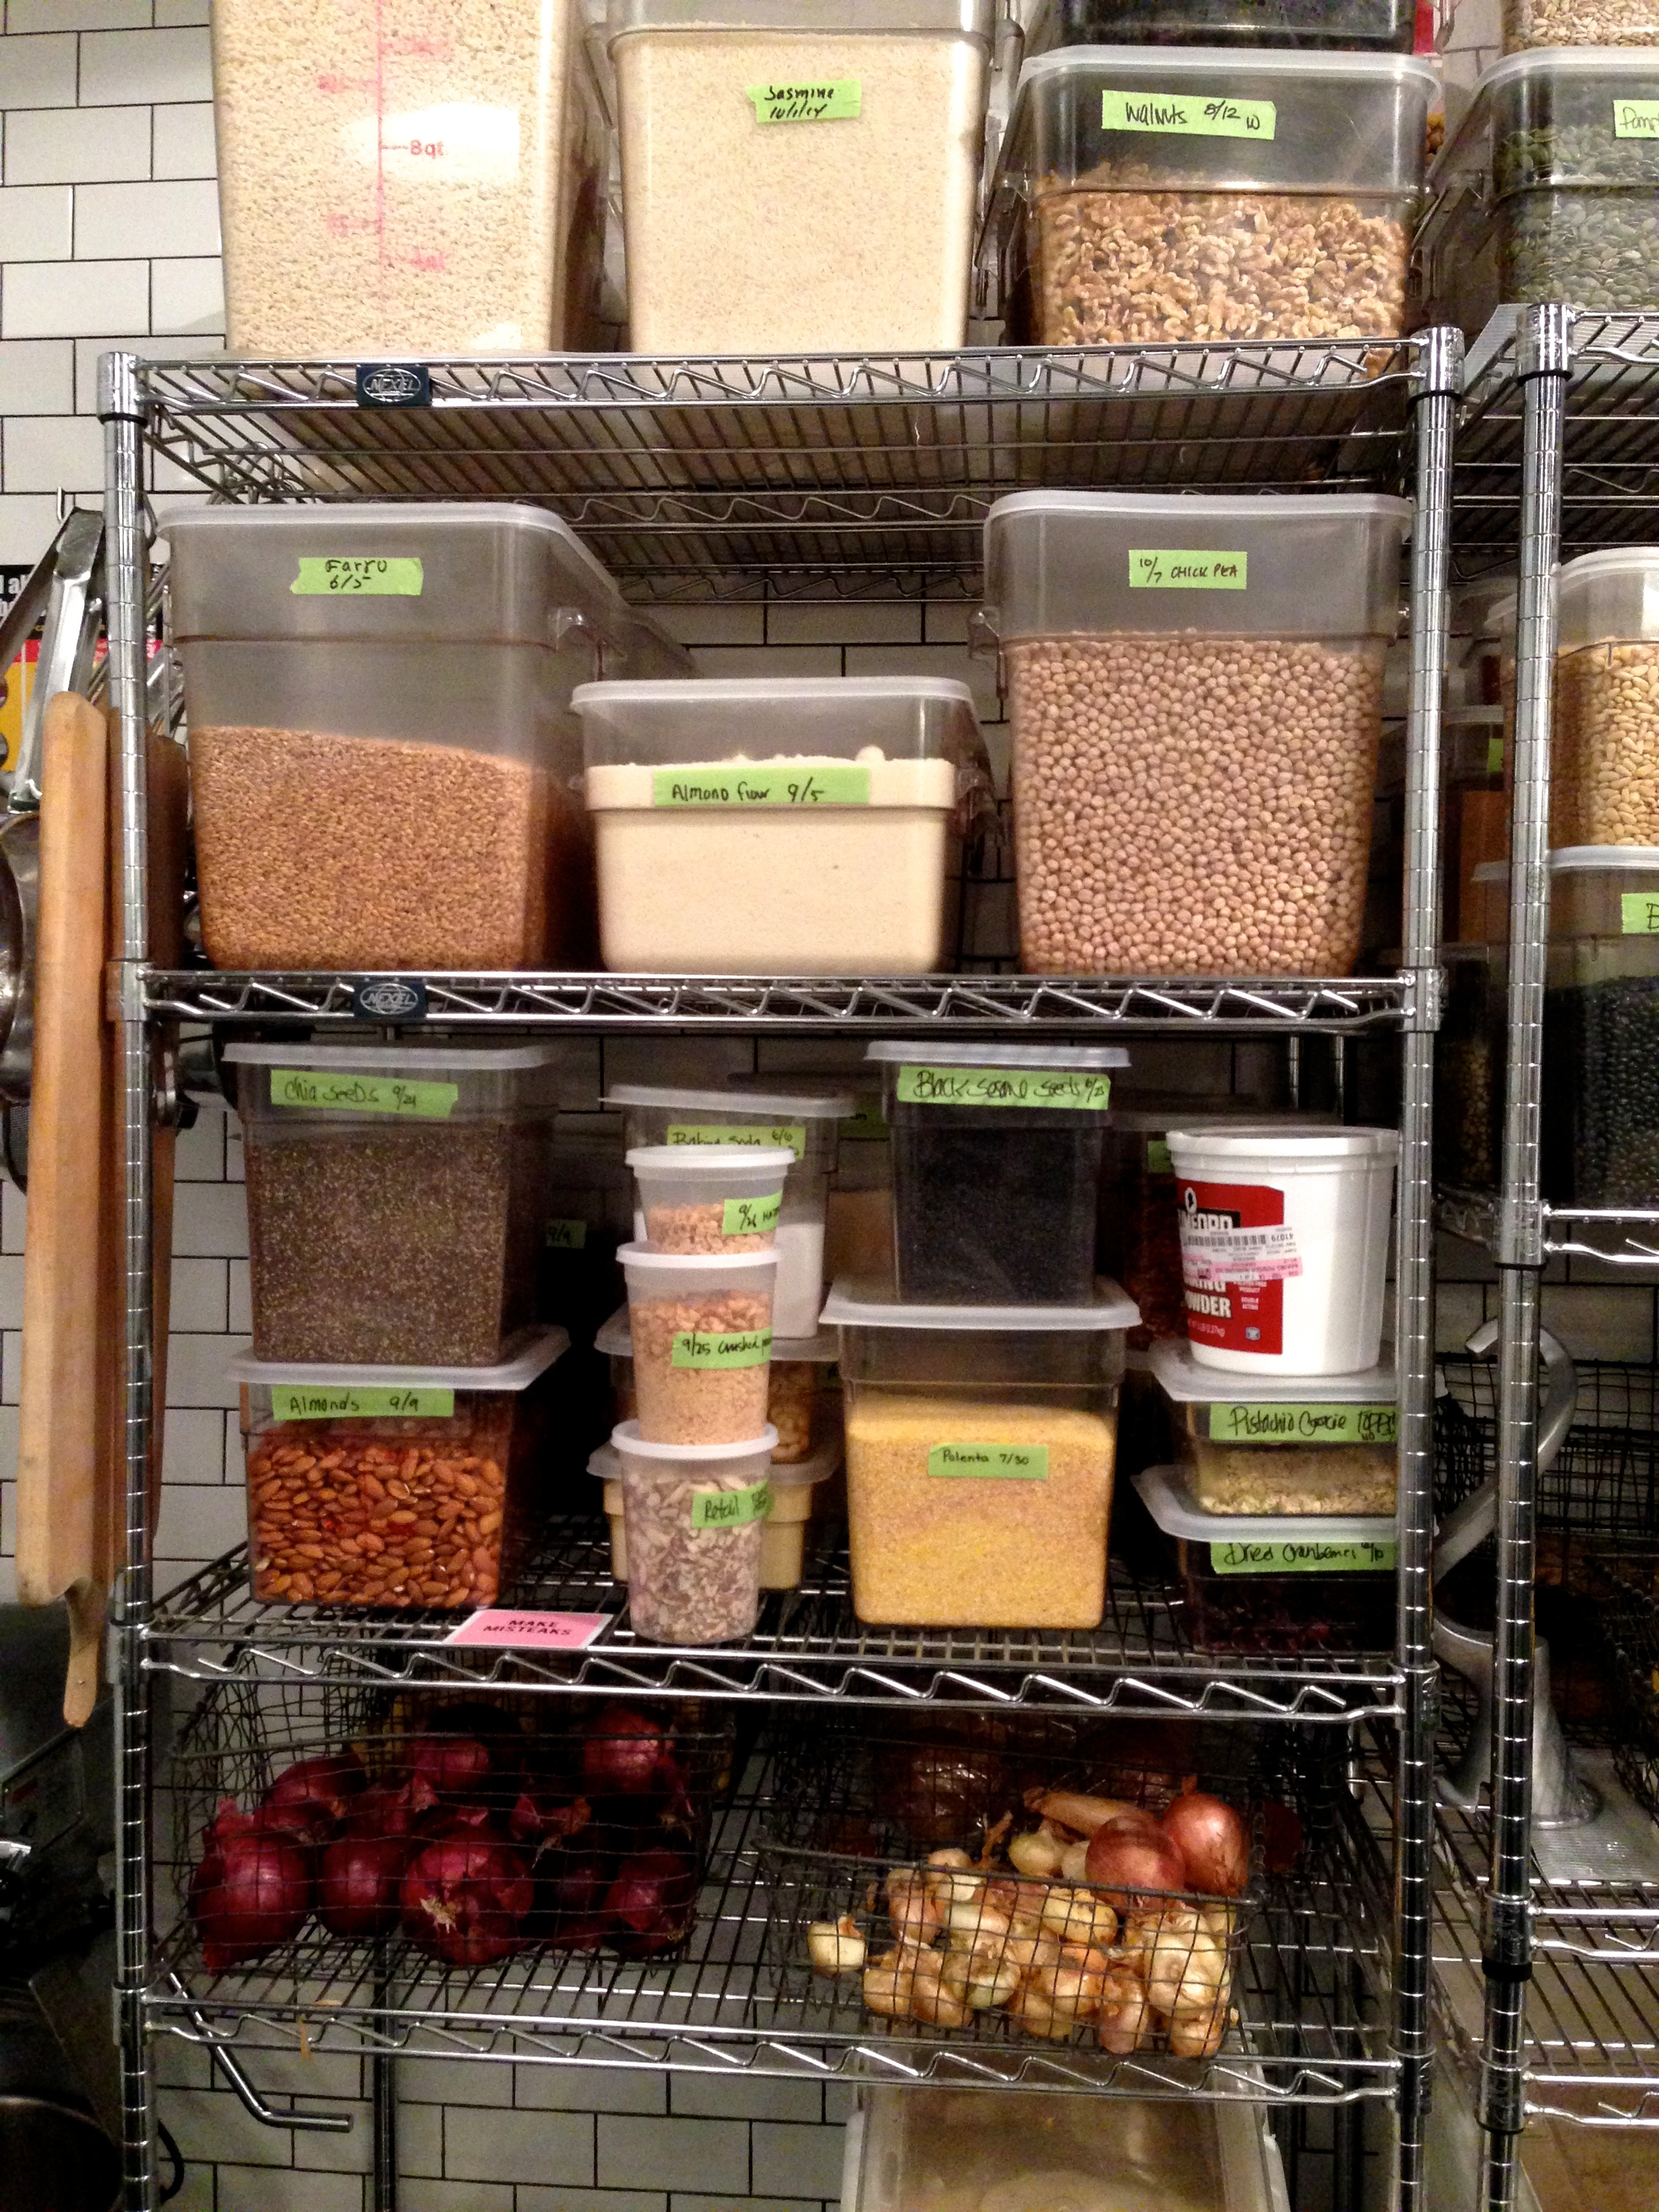
I mean, this space is just a dream and just my style of interior design with the mix of industrial and that country-farm feel. Basically, I would like to live here. They have a little cafe and shop area in the front, the kitchen further back, and an event space upstairs. I took a couple snaps of my favorite parts of the space:
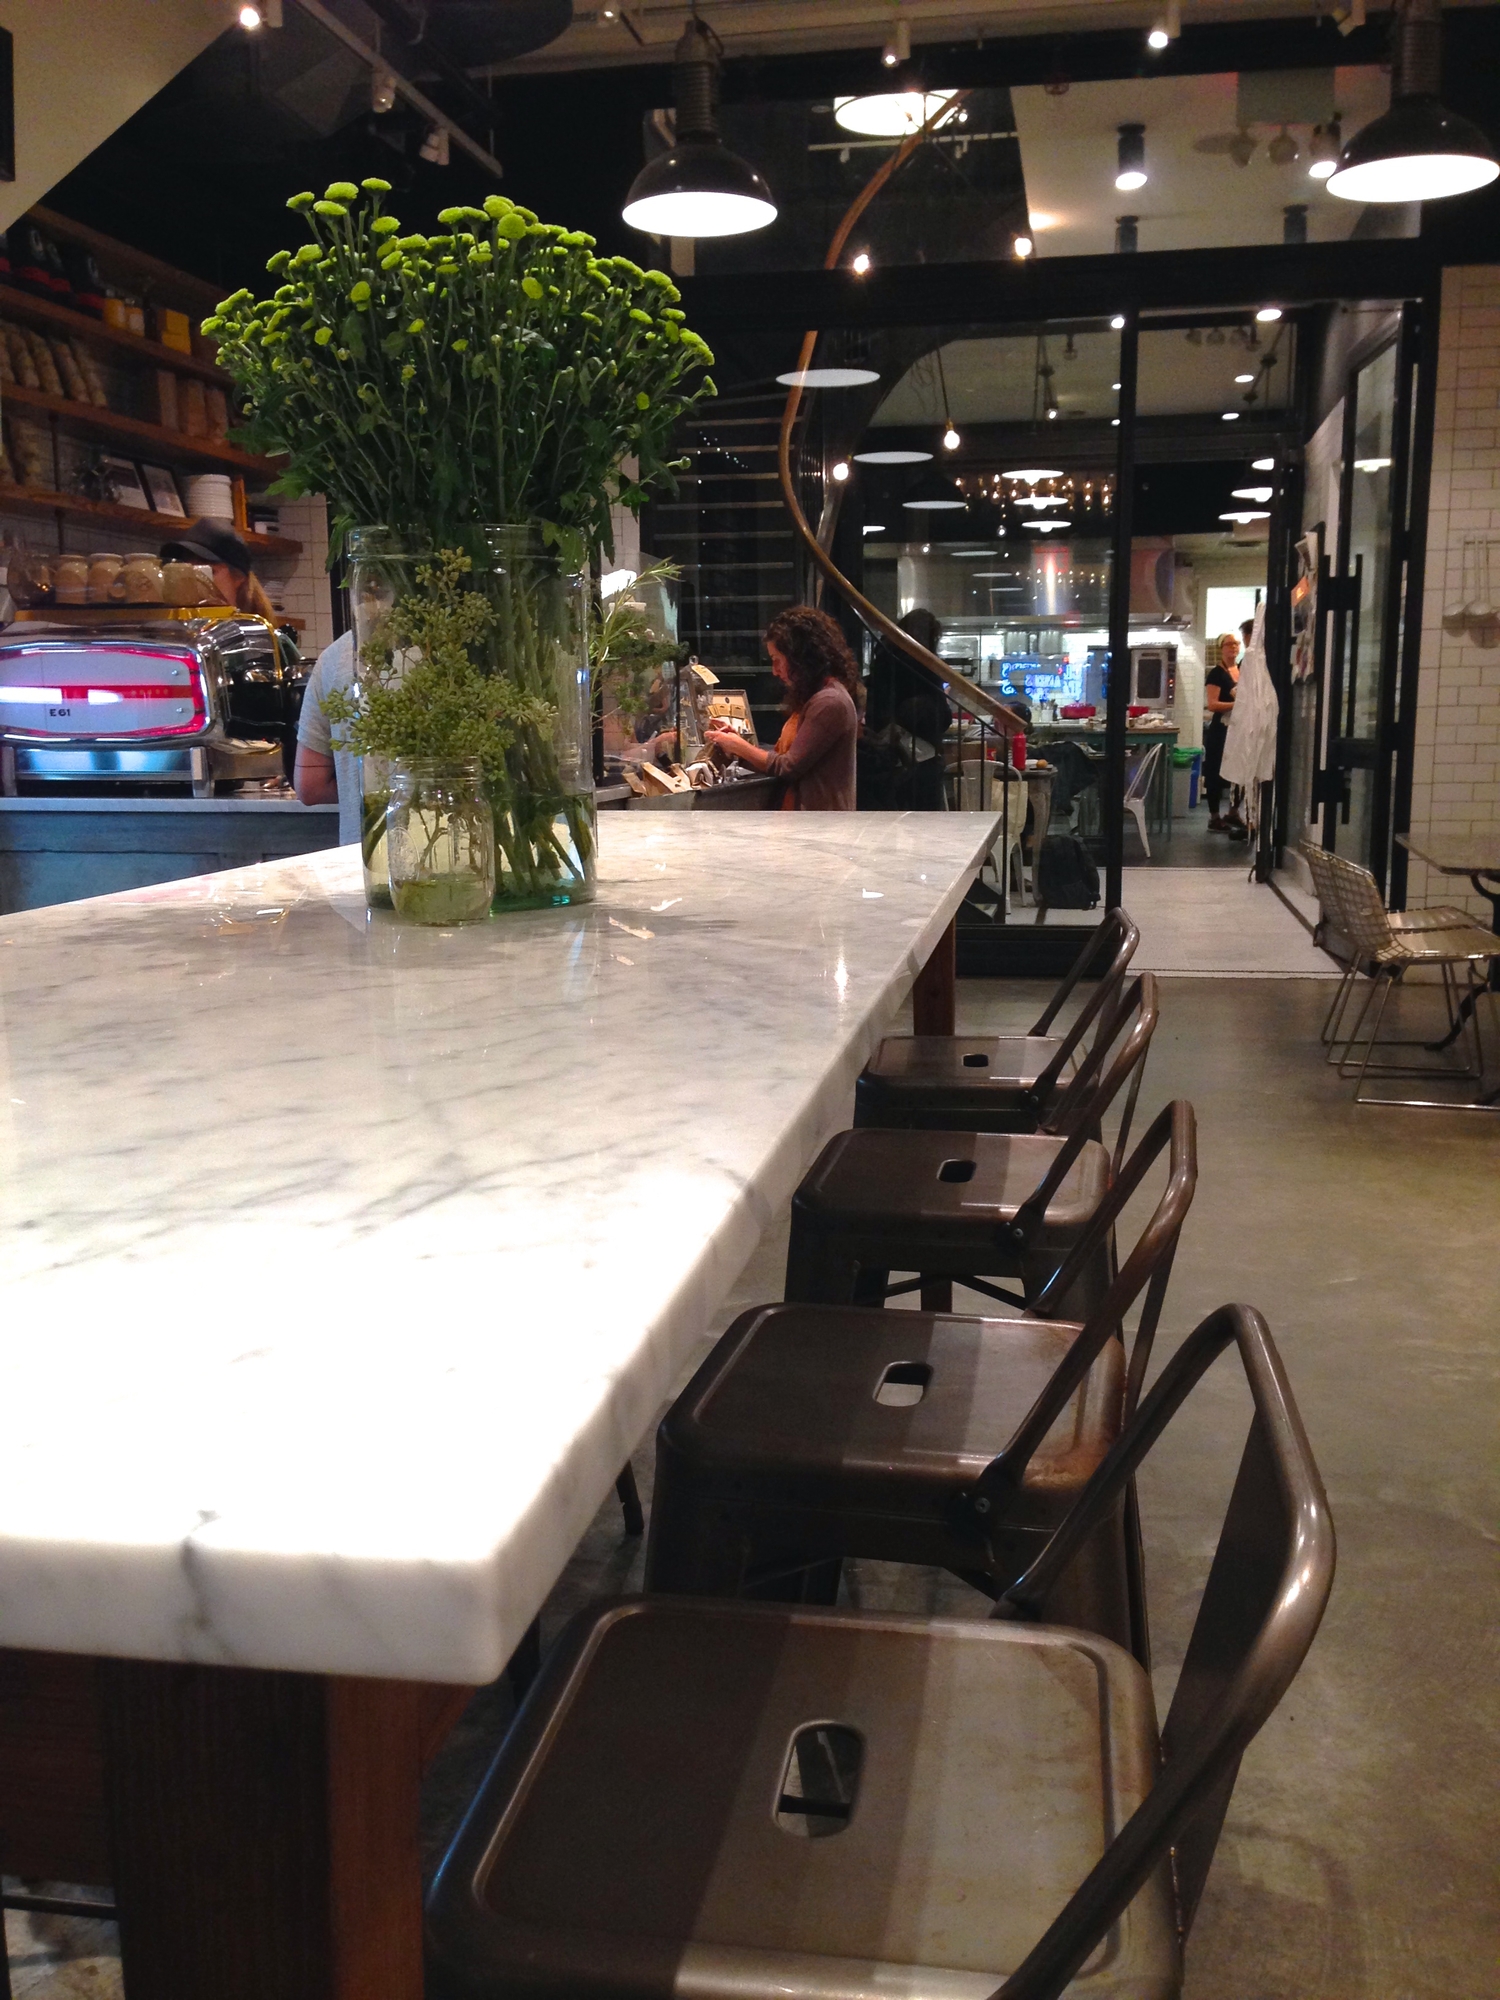

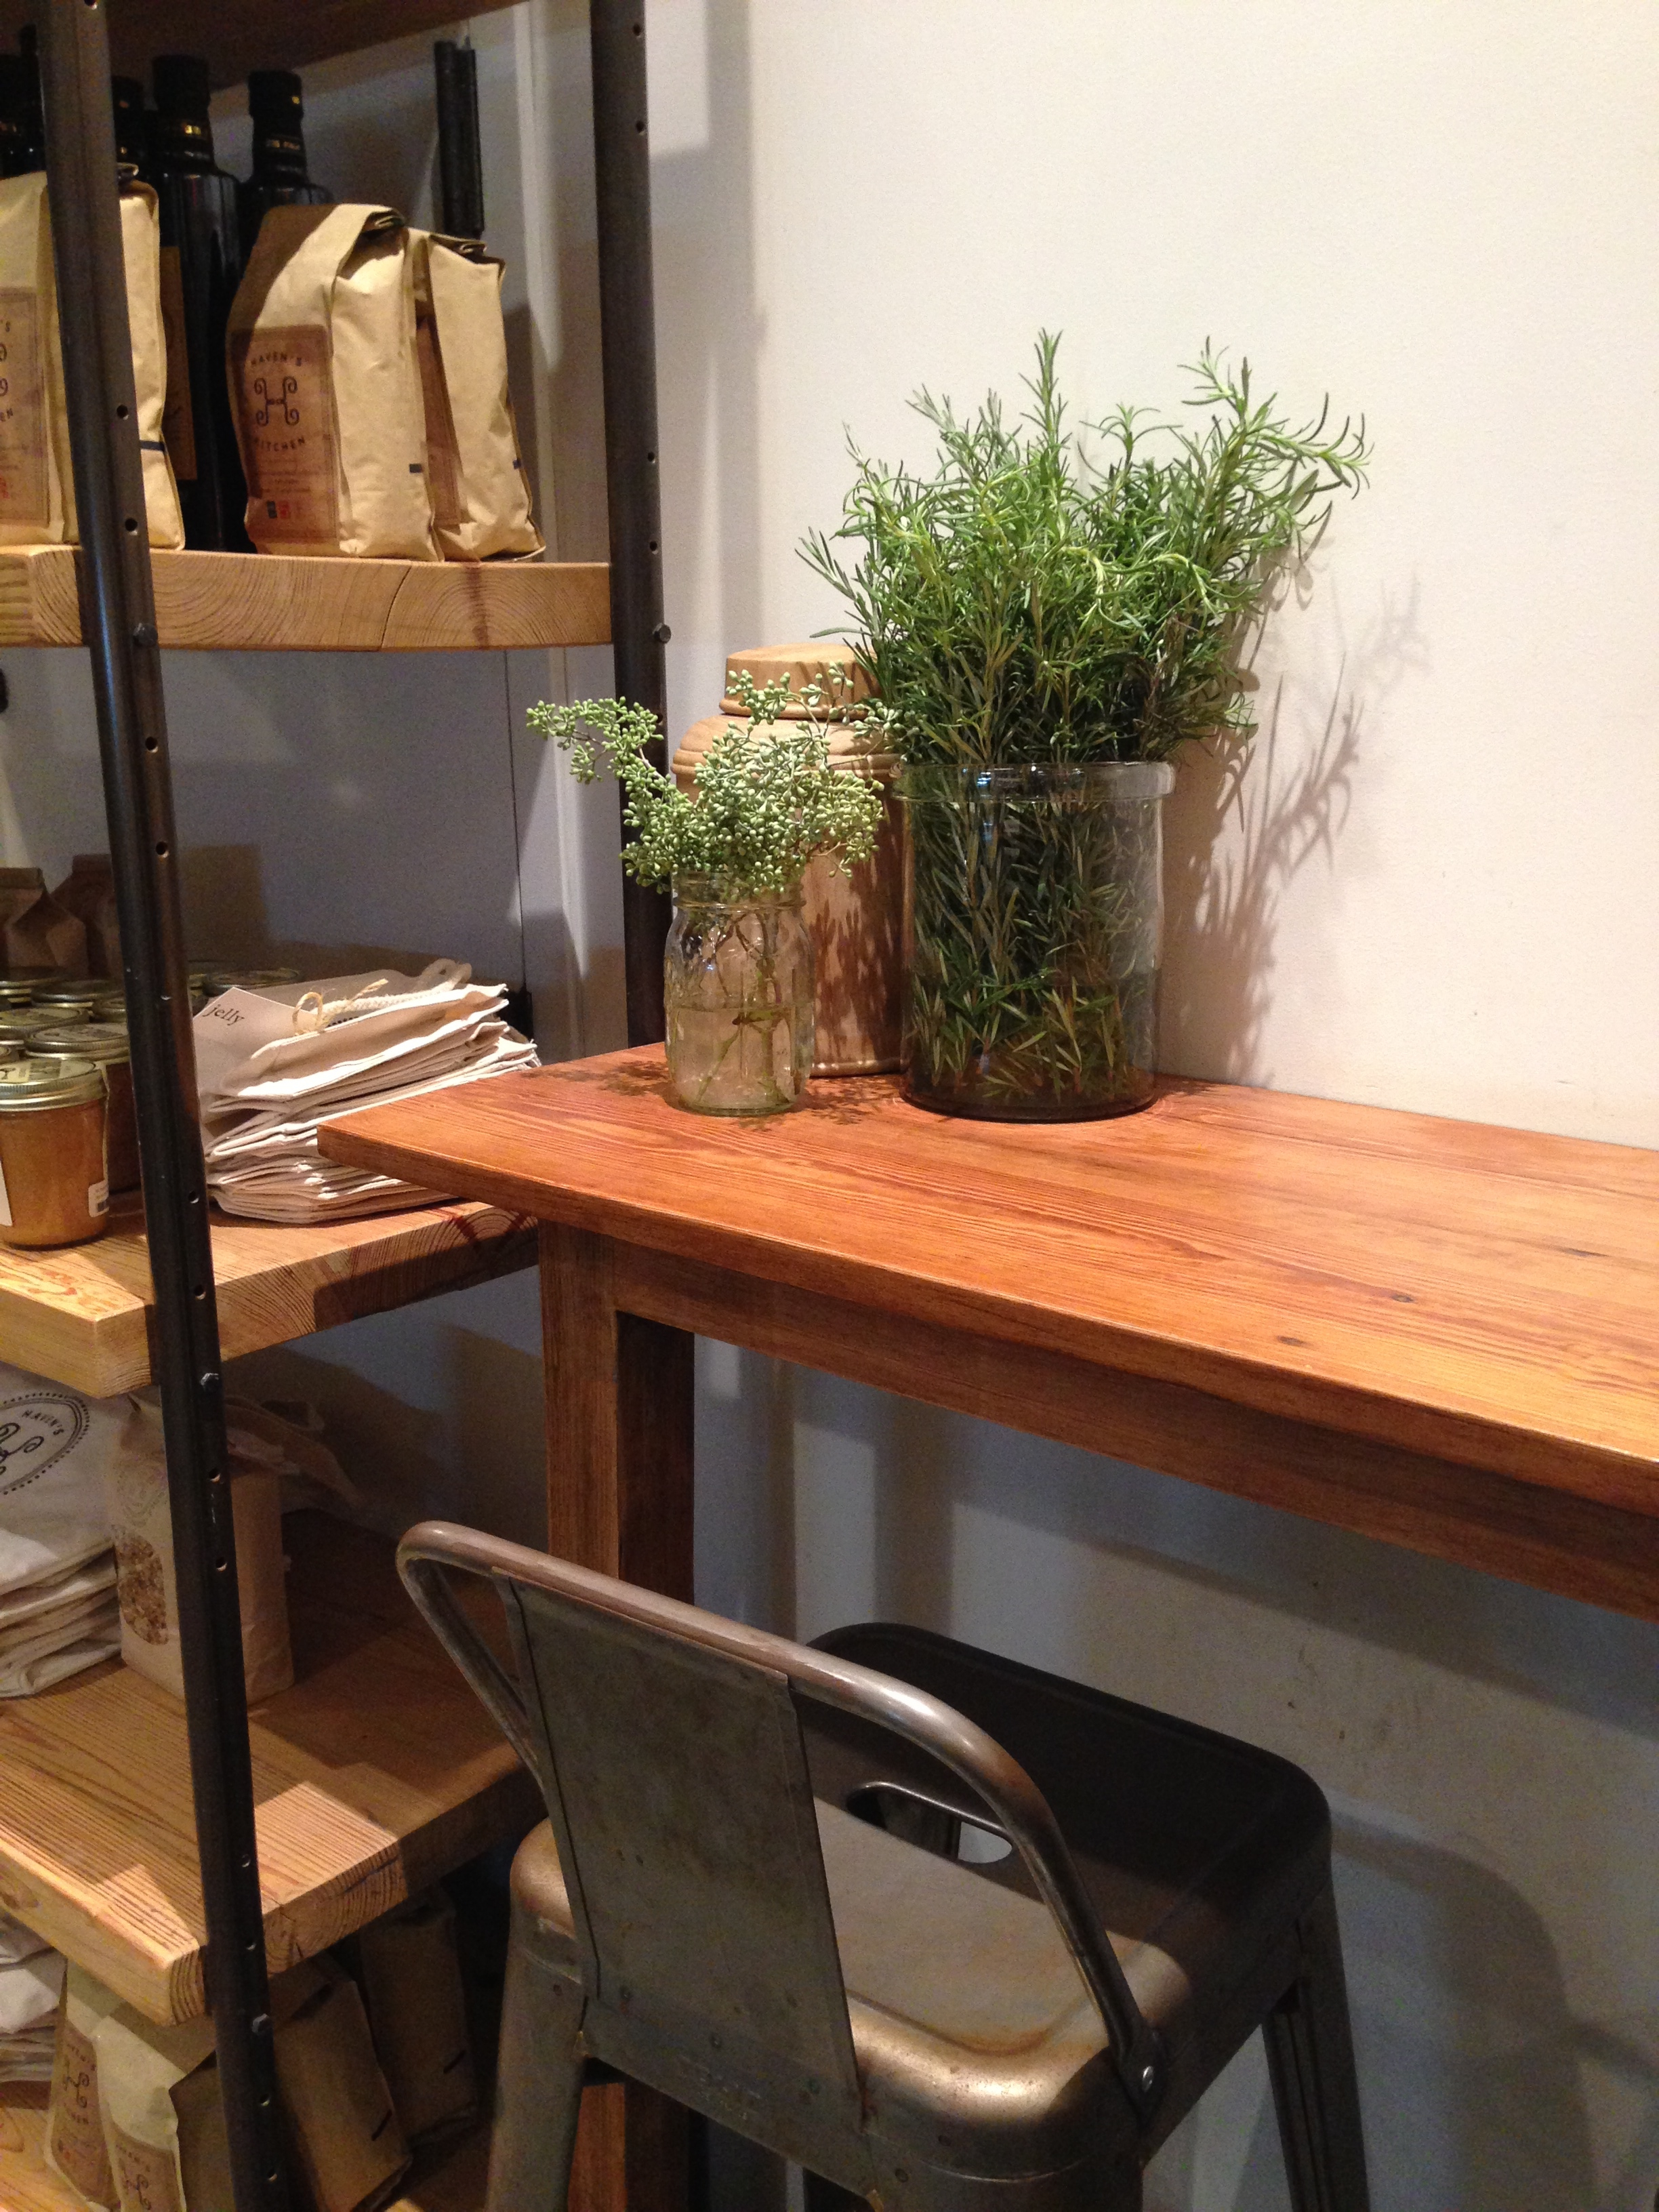

By the way, all of these are photos from my iPhone- I contemplated taking my DSLR, then I realized that I'd probably be wielding a giant chef's knife for most of the time and there would be a high possibility of dropping my DSLR in a Le Creuset by accident...
The Class
I chose the Beef Bourguignon class for a few reasons. First and foremost, I love the French style of cooking because everything feels like you're making a piece of art in the kitchen. Secondly, my sister and I had been dying to learn how to make bouef bourguignon thanks to Julia Child (no surprise there).
This class was taught by Sydney Willcox, and she was awesome. She really emphasized the point that cooking should be fun and relaxed, not some rigid, stressful situation. It was also really cool to meet and make new friends within the class, as we all sat down for dinner afterwards and got to know each other.
The class turned out to be a full-on French affair, starting off with a Frisee Salad with Whole Grain Mustard Vinaigrette and finishing with a Lemon Mousse. Now to be honest, I initially wasn't enthralled with the starter and dessert because I don't really like mustards (gasp, blasphemy, I know), and I've only felt lukewarm toward all the dessert mousses I've had in the past. Well, Sydney really knows her flavors, because I left singing the praises of that salad and the mousse and nearly liked them more than the beef bourguignon!
Haven's Kitchen gave me green light to share the exact recipes, so I will be sharing them at the bottom of this post. But of course, first, I have to take you through the class experience and all the nifty tricks I learned- this is a very long post but well worth it. I tried my best to take photos of the whole process, but I literally had my hands full for most of the night! Also, vegans and vegetarians beware-there are photos of meat coming up as you might have guessed.

The Cooking: Beef Bourguignon
To kick things off, glasses of bubbly and wine were poured, and we noshed on these amazing spiced nuts (aleppo was the secret kicker ingredient here- need to try this!) while we listened to Sydney explaining how this shindig was going to go down.
We were then taken to our little setup stations with our cutting boards and our pre-measured ingredients. Now beef bourguignon is one of those dishes that you can let simmer for hours to tenderize the meat, but we sped through ours in two hours.

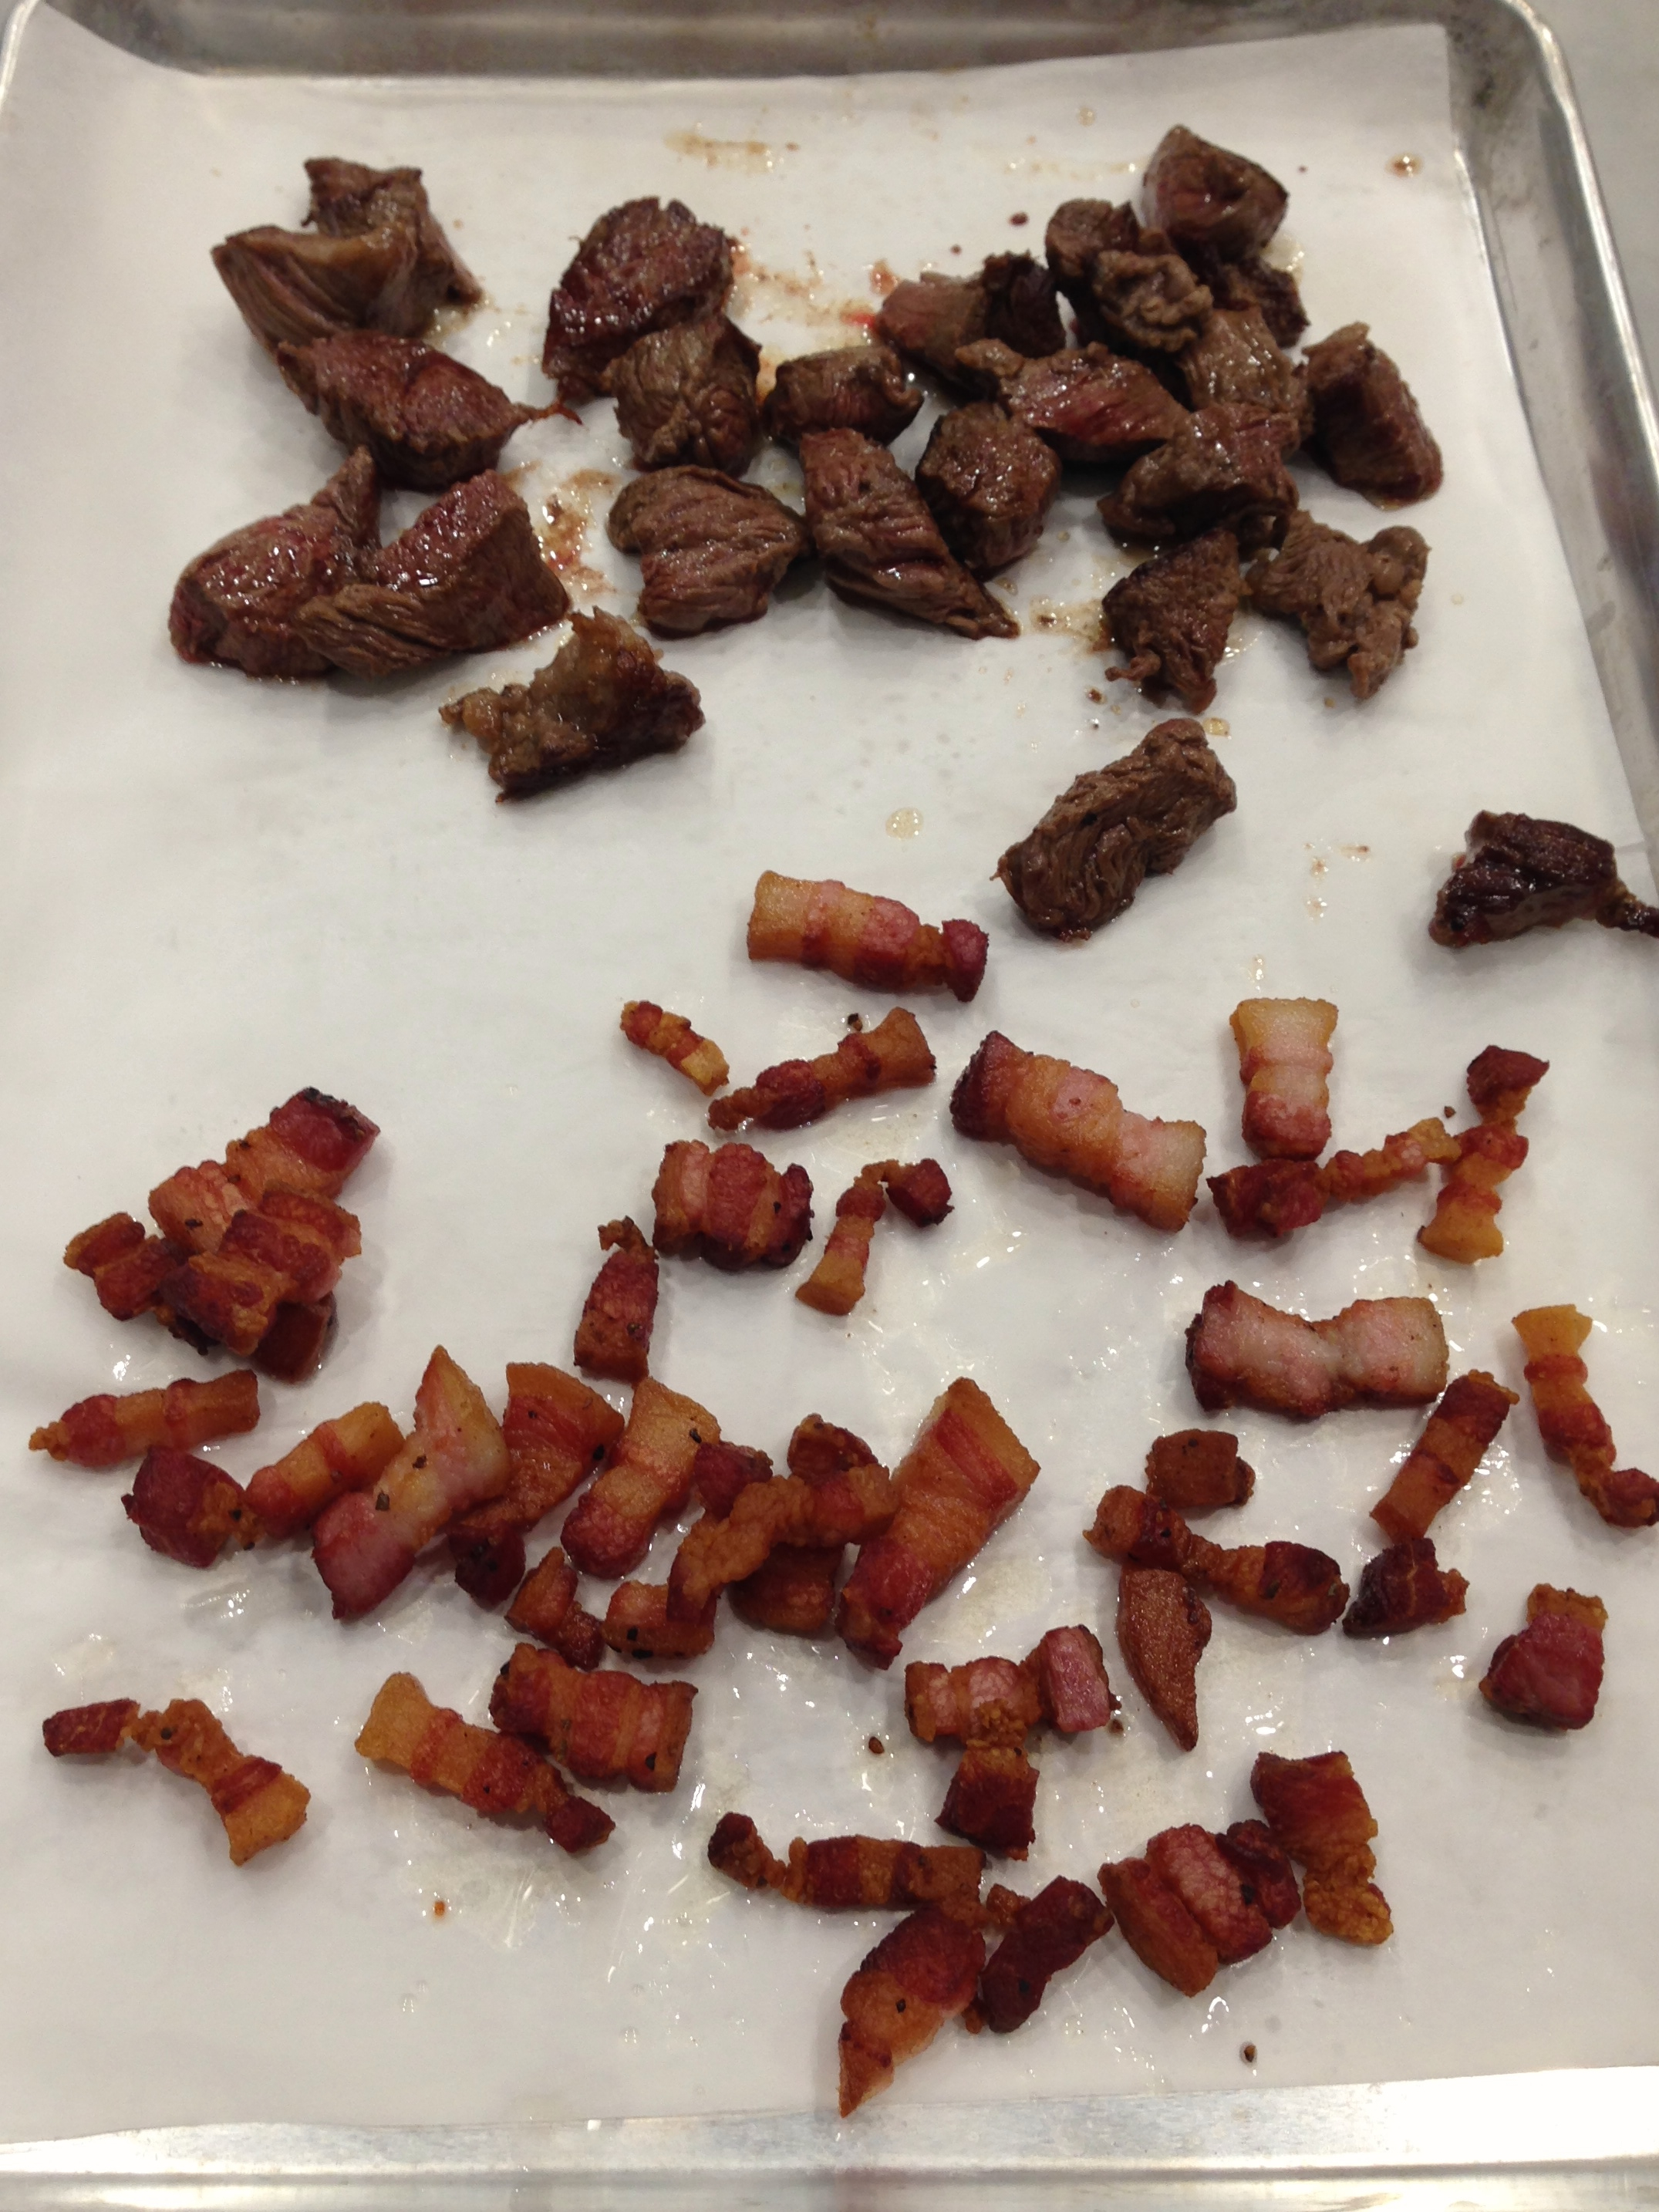
First step was tackling the meat.
We had two meats to work with- the pancetta and the actual beef chuck. Pancetta was easily diced, but the beef was a new thing for me to tackle. I don't cook too much red meat at home, so I learned a few things.
The meat wasn't cleaned yet, so it still had what Sydney called, "silver skin," which is that silvery film that covers the meat. My initial instinct was to hack away at it, but Sydney showed us how to gently peel it away by nudging the knife alongside it without using much force at all. You basically cut off a tiny corner to get your knife an entry point, then you slide your knife underneath between the silver skin and the meat- kind of like skinning a fish. Way easier, and saves the good parts of the meat from being butchered. After this, we cubed the meat into about 1 inch pieces in order to speed up the cooking time of the meat.
I then started searing the beef and pancetta while my cooking partner started peeling and dicing the vegetables. Few important things I learned about searing the meat. We actually used grapeseed oil instead of the olive oil listed in the recipe, because grapeseed oil has a high smoke point than olive oil, so it is able to cook at a higher temperature more efficiently.
Have you ever cooked meat and noticed it gets greyish in color? That's because the heat isn't kept up at the appropriate temperature and the meat steams instead of searing, and starts to grey. So, we cooked the meat in small batches to avoid this. You also only want to cook it enough to sear brown on the sides- it will finish cooking in the stew later.


For the veggies:
Two major tricks cutting tricks I learned. I always thought veggies that were sliced crosswise diagonally was a presentation thing, not functional. But the carrots being sliced crosswise was to give the veggie a bigger surface area for the flavors to seep in.
Then, there were so many "ohhhhh" moments when Sydney talked about the onions. First of all, onions make you cry when you cut them because of the chemical, allium, being released into the air. So, the finer you chop them, the more allium released. We were working with cippolini onions (my fave), which are smaller and contain less allium than its larger counterparts. Secondly, we quartered the cippolini onions and didn't cut off the connective "hairy" end so the onion stays connected throughout the cooking process-this is a total presentation thing.
In that same large pot, we began to brown the carrots, garlic, onion, and mushrooms. Now came time to deglaze the veggies- I had never done this before. To deglaze, you use an alcohol to do so, in this case, cognac. Because alcohol cooks rather quickly, as you pour it in the pot with the veggies, you have to very quickly start stirring and scraping off the yummy brown bits at the bottom of the pot to get that necessary browned flavor (photo above on the right). The aroma was unbelievably mouthwatering at this point.

Combining the stew
Simple.
You dump the cooked meat back in the pot with the veggies, add the wine and stock, and bring to a boil, then reduce to a simmer. Throw in the bay leaves and thyme and simmer away for hours (in our case, about 1.5 hours, preferably longer like about 3).
This was surprisingly simple to make. It's a good dish to make for a dinner party because while it does take some time up front to prep it all, you have plenty of time once it is simmering to prepare your other dishes for dinner- which is exactly what we did. Now onto the salad and dessert!
The Cooking: Frisee Salad
I was really hesitant about this vinaigrette because of the mustard thing. I wrinkle my nose at it, and I don't love anything remotely horseradish-y flavored. Well, eat my words (literally), because I'm about to go buy my first ever jar of mustard after eating this salad. Also, fennel- it was always such an unnoticed veggie in my book, but I am now in love.
I unfortunately don't have many pictures of the salad-making since I was doing many parts of this hands on.

First, with washing delicate greens like frisee, you want to completely submerge and soak them in a basin of water. Simply running them under a faucet is not sufficient enough to remove all the dirt particles- and who likes to eat dirty greens?
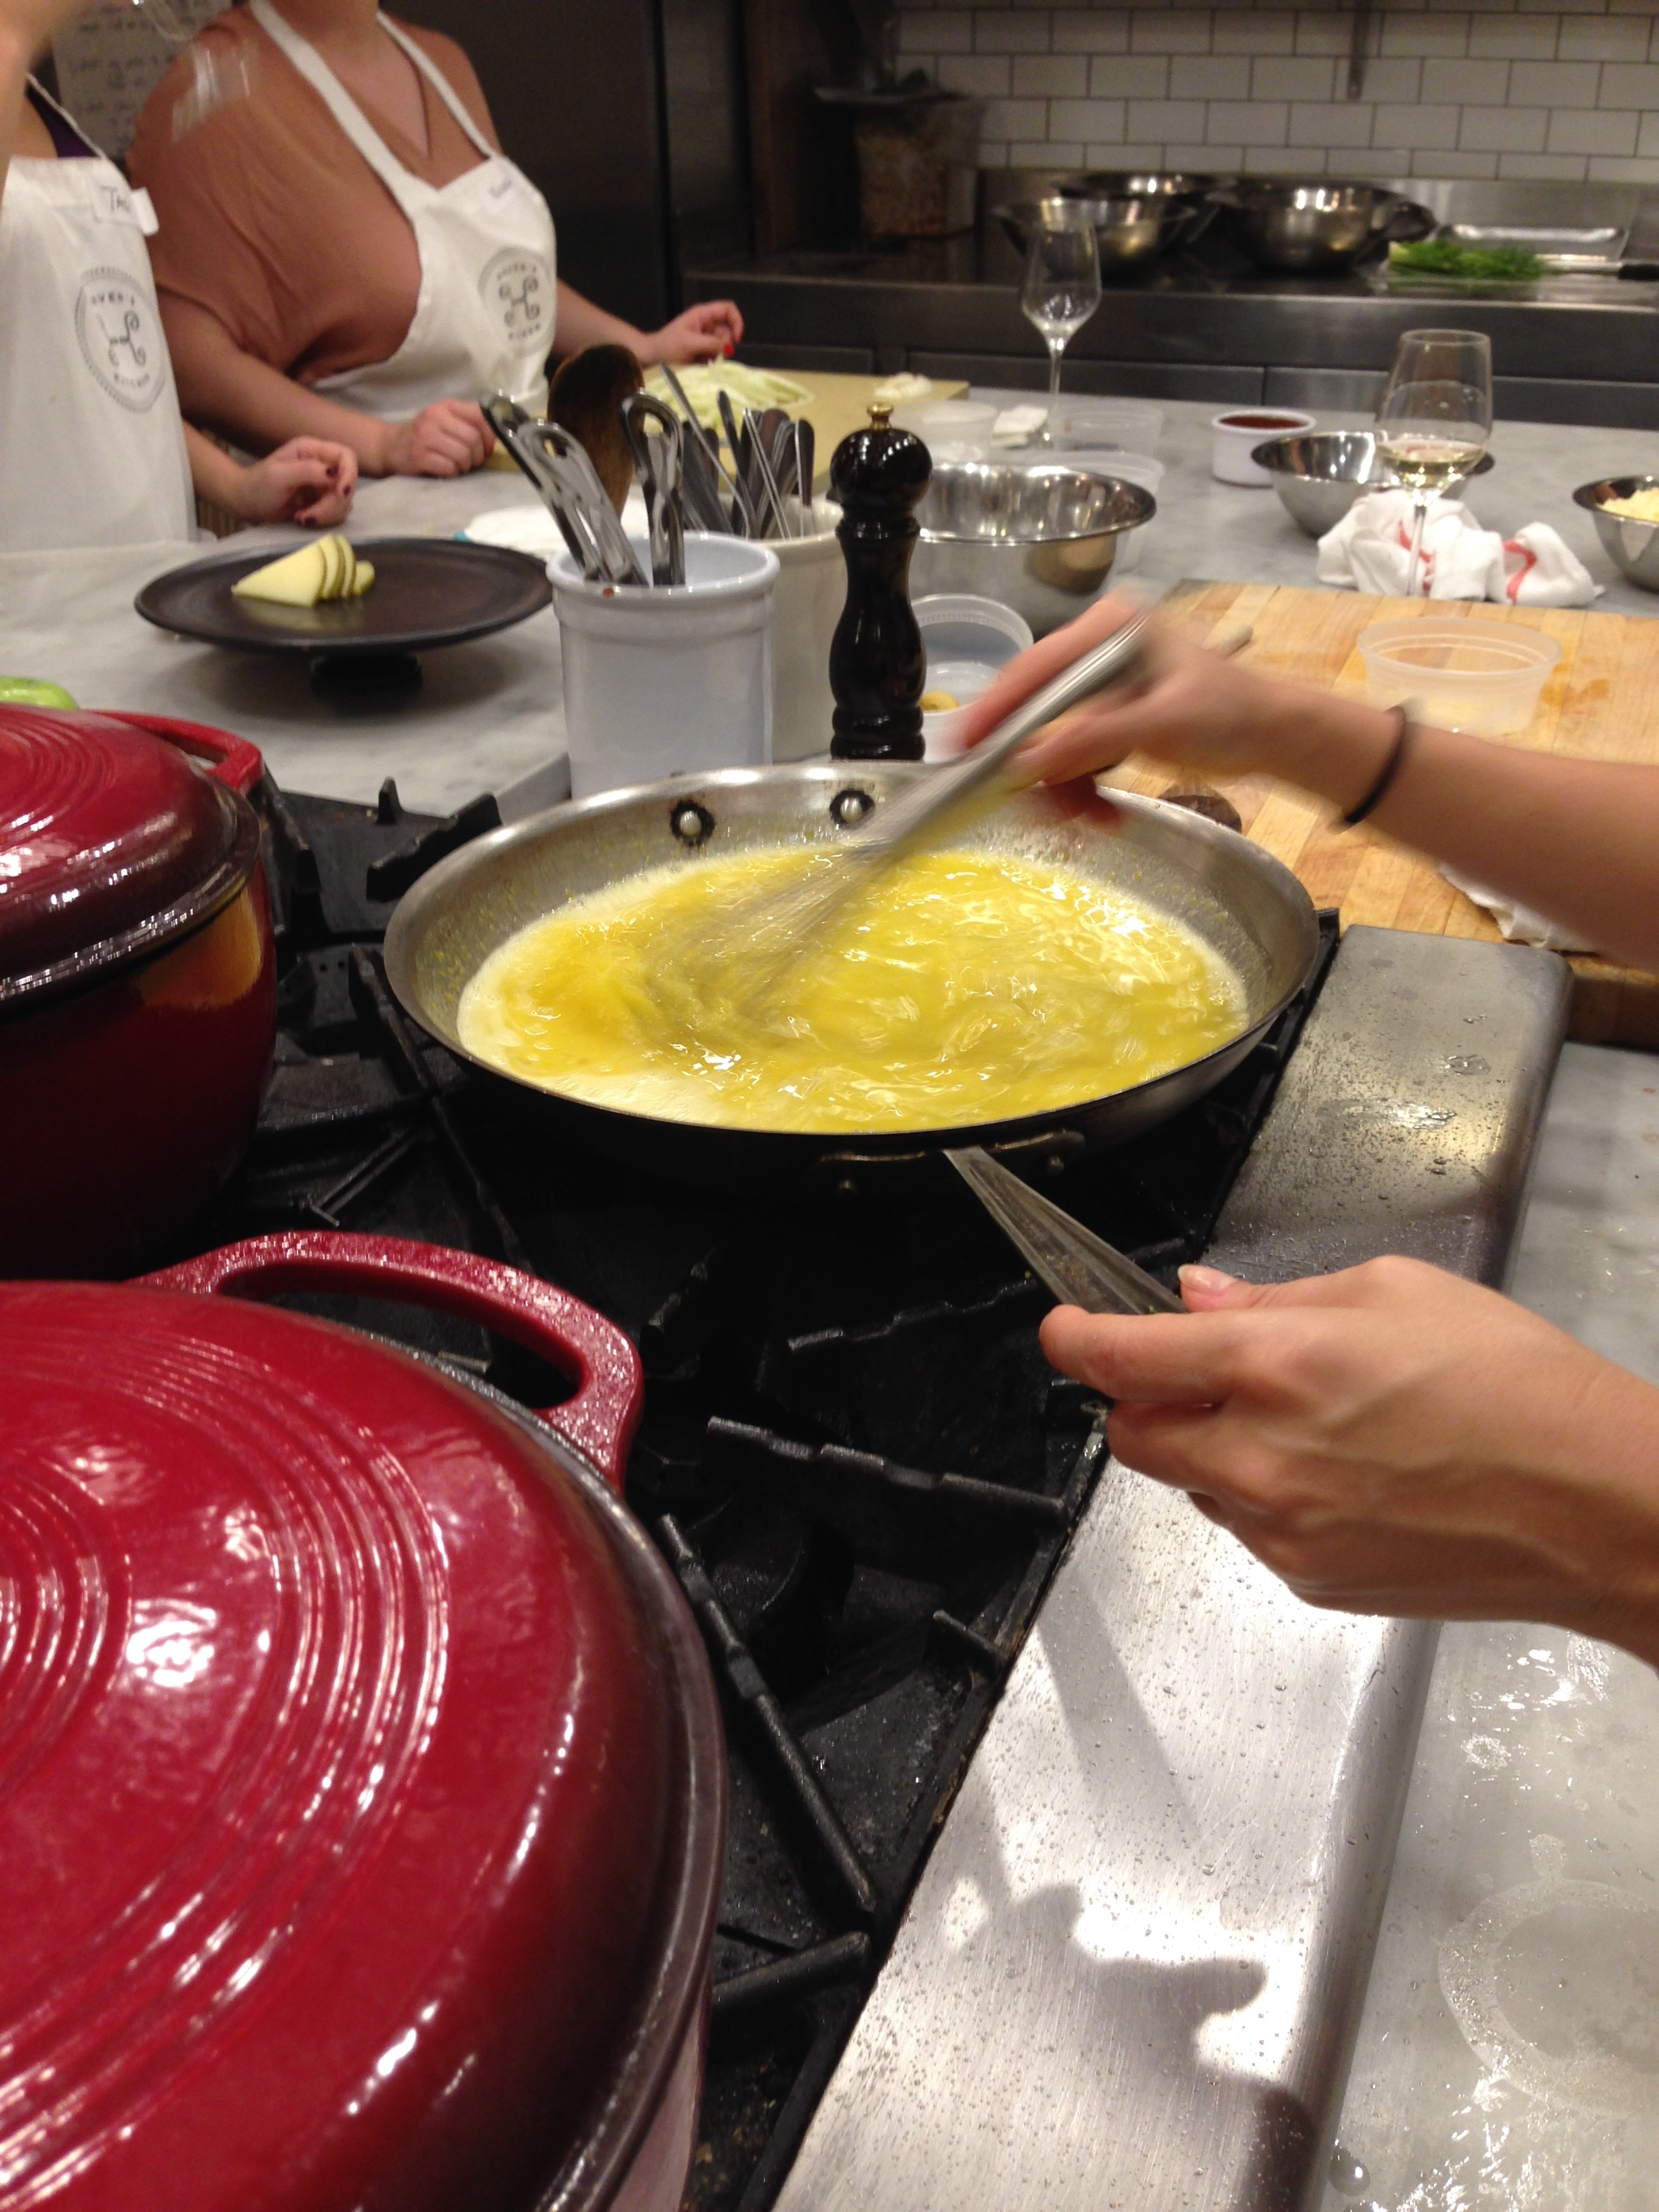
Now for the dressing. I used to just kind of dump all ingredients together and I always wondered why it was so oily and it kept separating- emulsification, people! Once our shallots, honey, whole-grain mustard, lemon juice and shallots were combined, it was time to add the EVOO. I previously poured it all in one go and tried to whisk vigorously to no avail- turns out, you need to pour the oil in very slowly, and whisking simultaneously like a madman. It's like trying to pat your head with one hand while rubbing your stomach with the other.
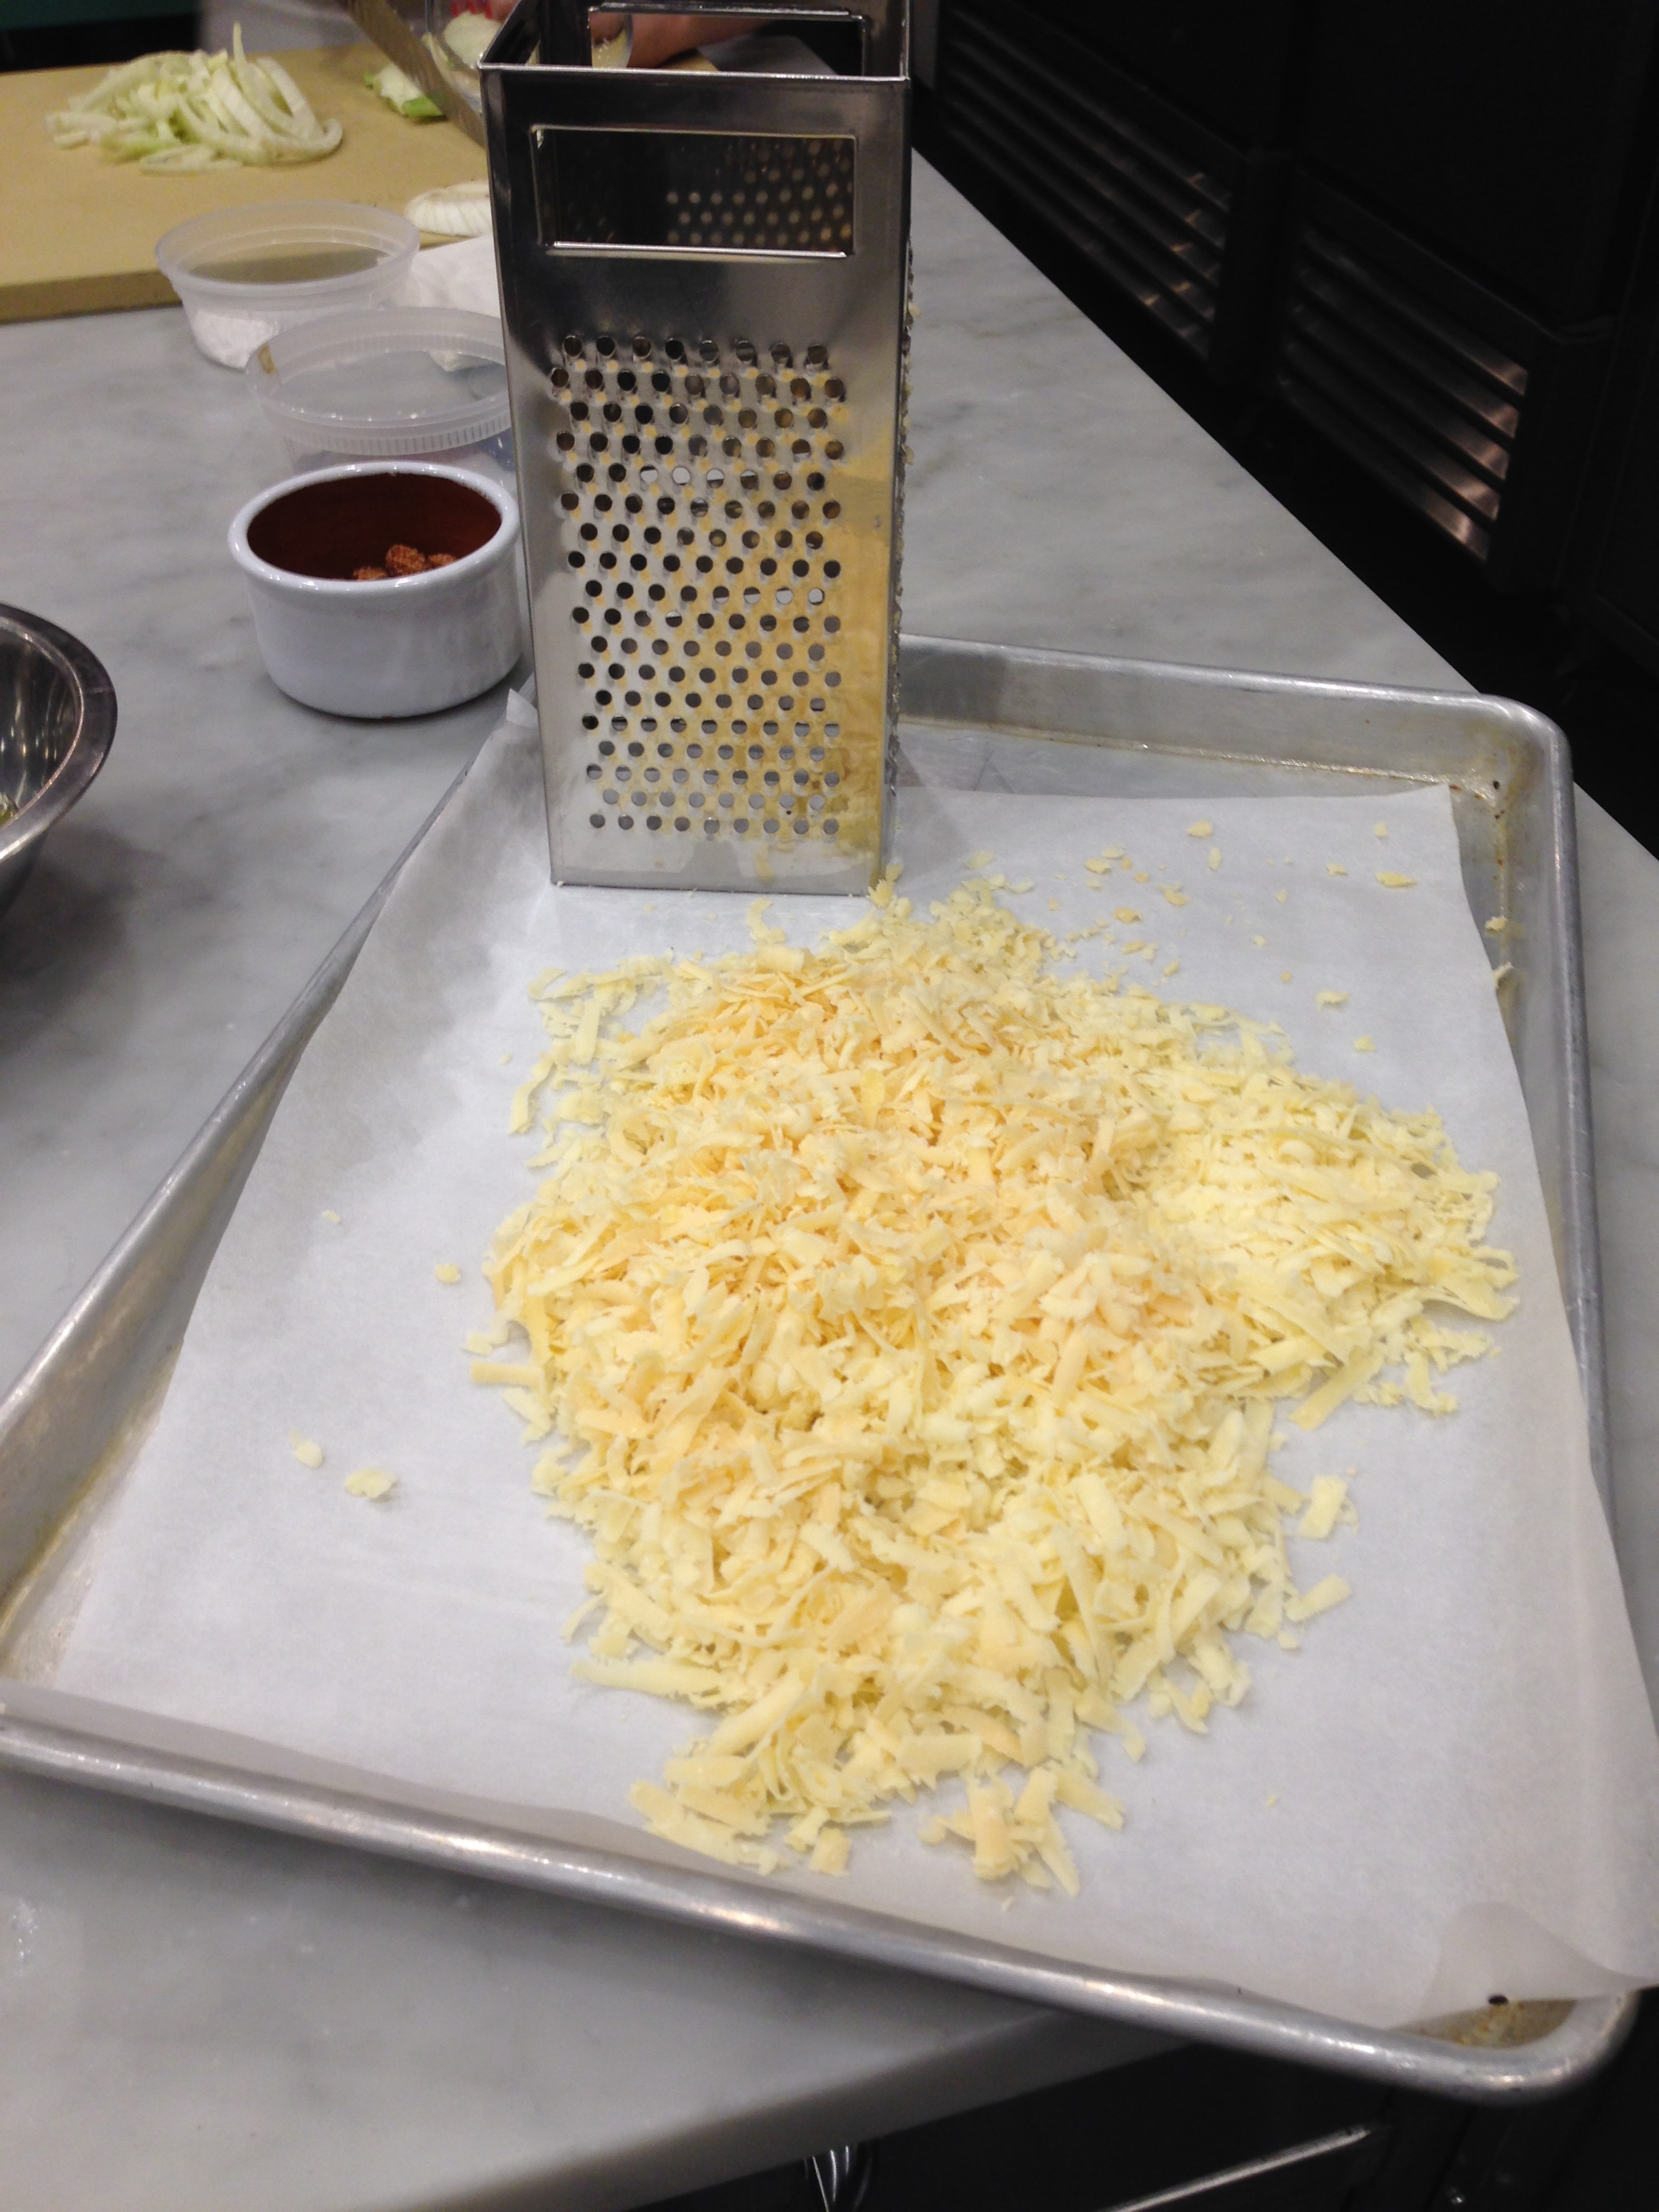
I didn't have the apples on top because my allergy, but that freshly grated Cabot Clothbound cheddar just amplified the salad even more. Incase you didn't get it by now, I looooved this salad and am definitely making it for my next dinner gathering.
The Cooking: Lemon Mousse
Mousse has never been my pick off a dessert menu. Now I understand why. I've never had good mousse up until this point! Everything here was pretty straightforward and by the recipe, step by step, as all baking tends to be, but there are a few things I wanted to point out.
Sydney explained the difference in texture you tend to get with a citrus mousse like ours versus a chocolate mousse. Because of the fat content in chocolate, you're able to get a more velvet-y texture. But I'm pleased to say we got a pretty darn luxurious texture with our lemon mousse.
We also used pure vanilla bean paste instead of traditional vanilla extract- for me, I majorly noticed the difference in taste. The notes of vanilla in the mousse was way more pure and potent without being overwhelming.
Another thing I learned I had been doing awfully- zesting citrus. Every person in my class had been doing it the way I understood to be correct until now. I used to put the zester down, and press the lemon on top of it, using force. Nope. Hold the zester in your dominant hand and you gently drag it across the top of the lemon (held in your other hand). This way is easier and you don't get the bitter whites of the fruit.
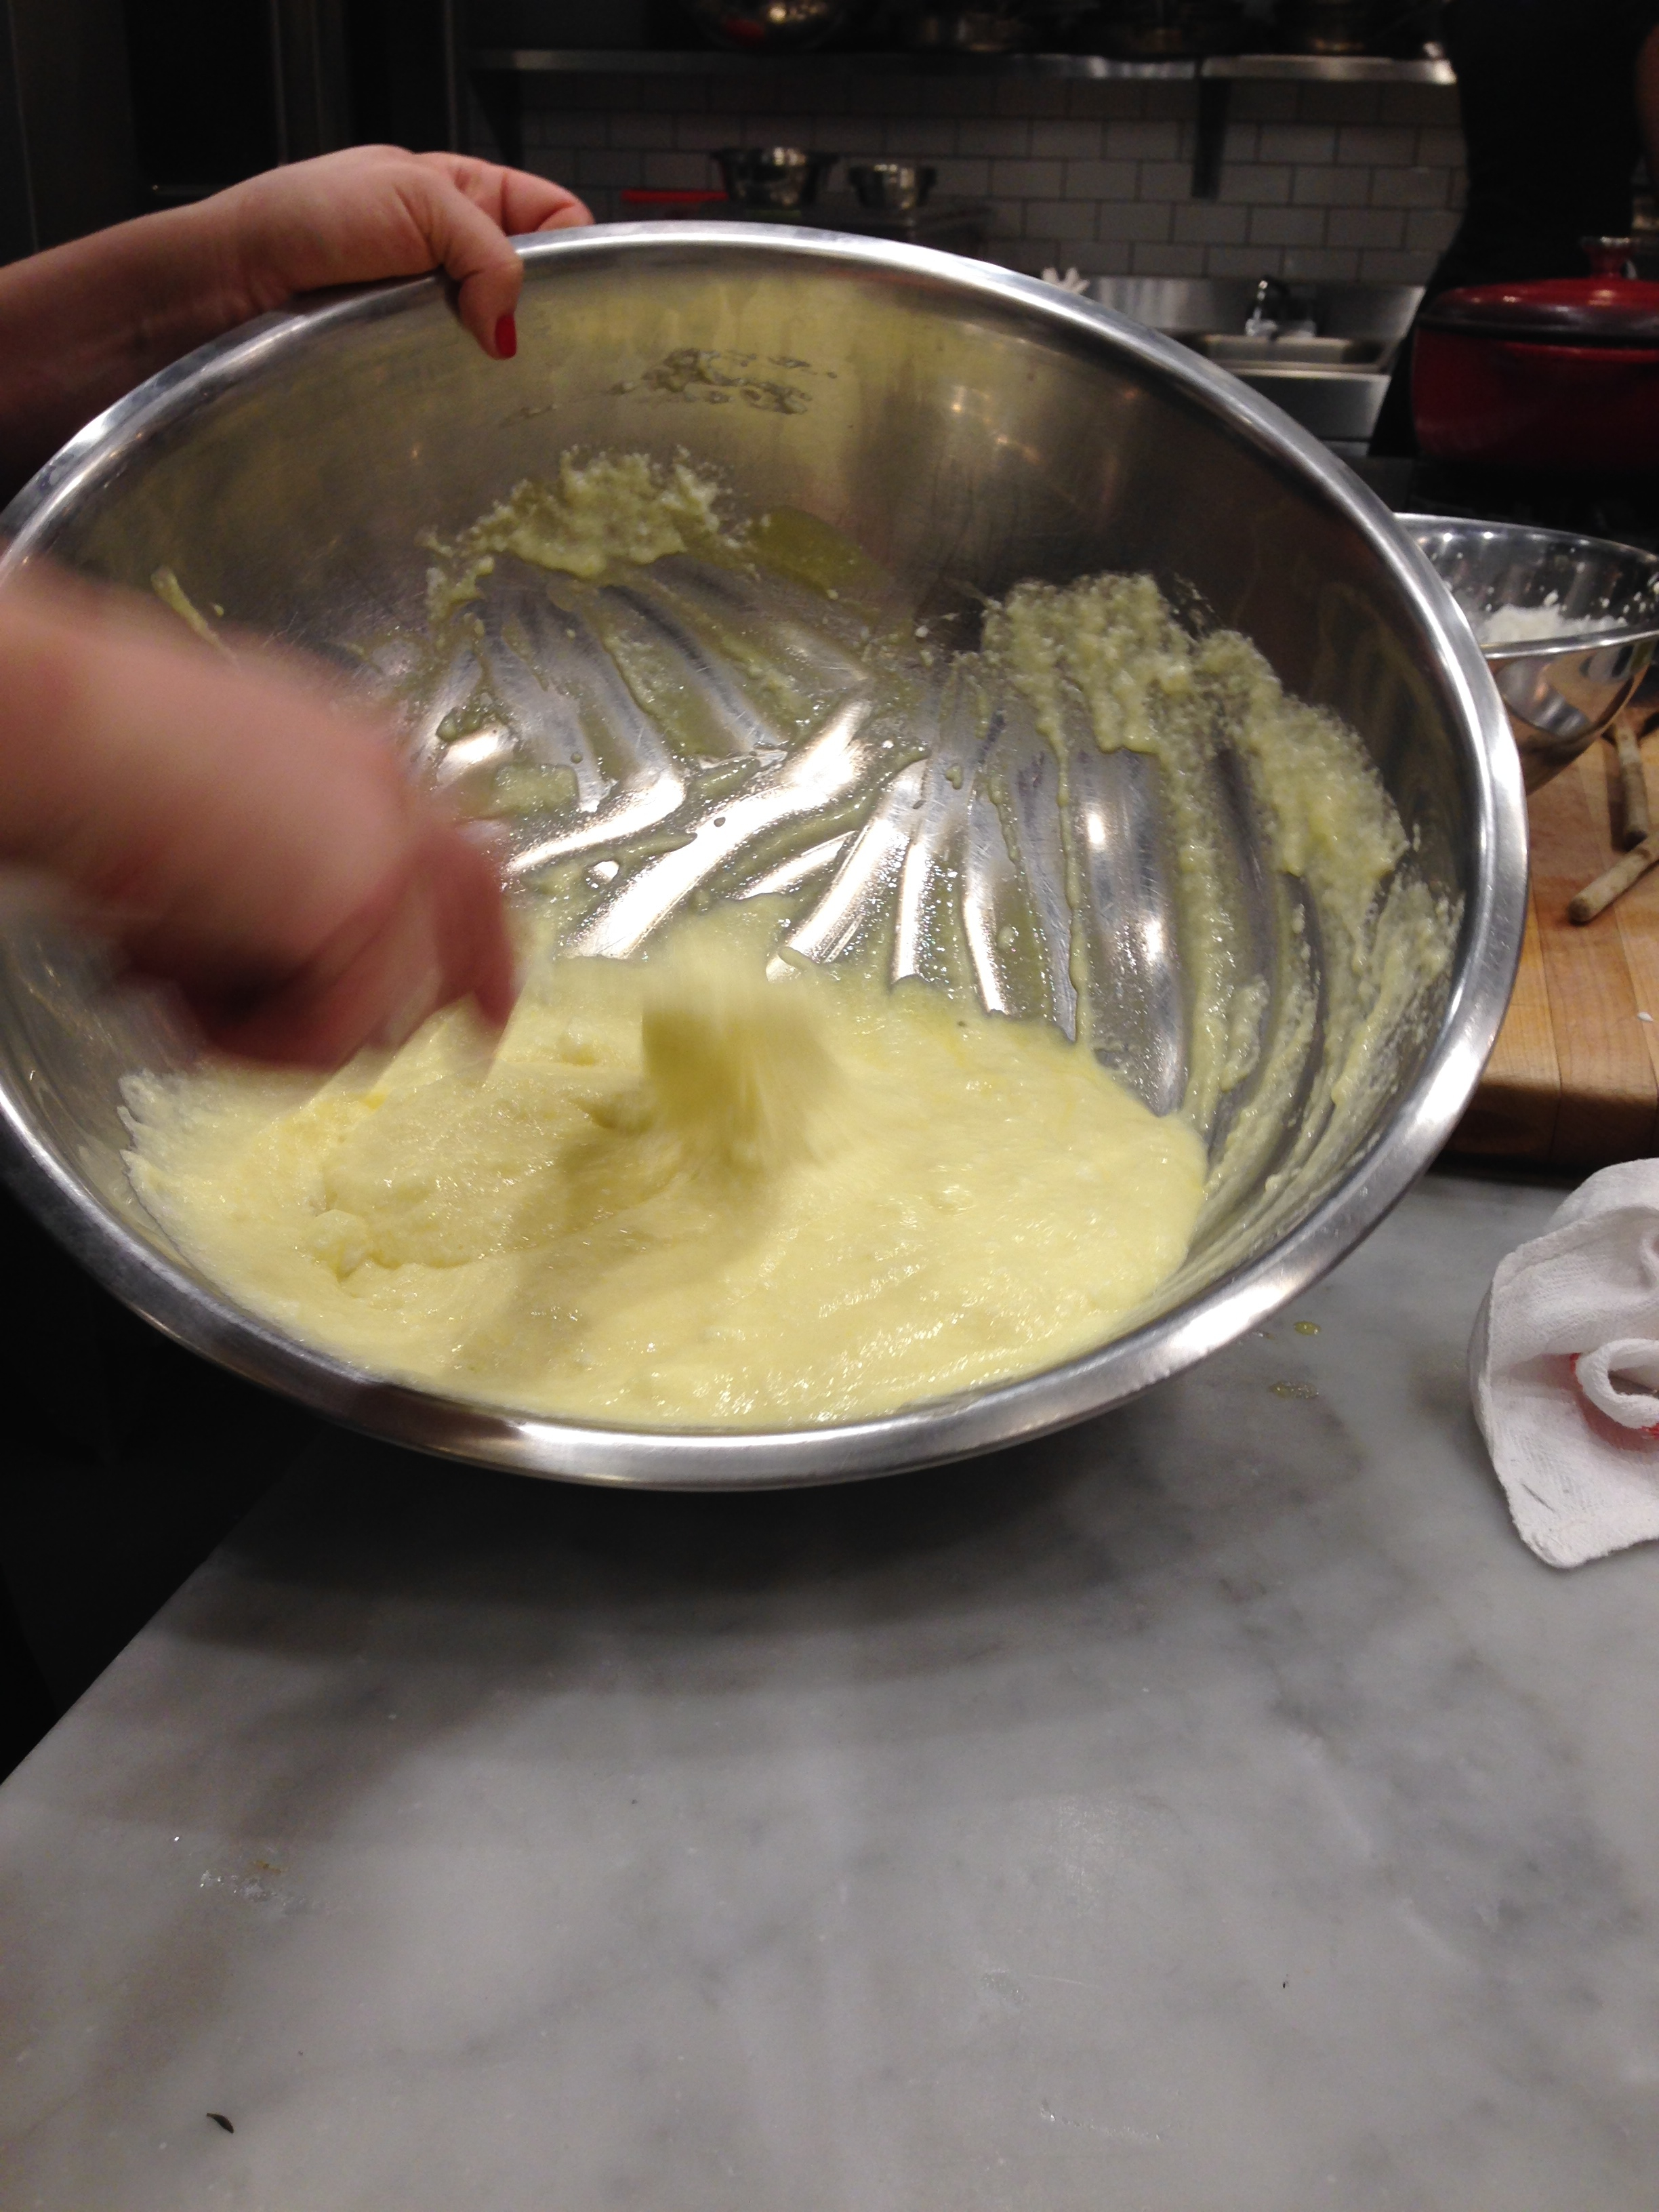
By the way, I've never whisked egg whites or heavy cream by hand to desired consistency- that is a LOT of arm work, people! But we all took turns so it wasn't a complete sweat-fest.
Last note- it is really important to fold and not stir the mousse mixture when combining the curd and cream. This maintains the fluffiness and folds air into the mousse to get that light and airy texture. Sydney showed us how to tilt the bowl on it's side, drag the spatula down the middle, and scoop up to the left to fold over- kind of in the pattern of the letter "J." You want to turn the bowl as you go to make sure you're getting to the whole mixture. (Photo above on the right)
The Eating: The Best Part
Time to reap the fruits of our labor!
We sat down at yet another table I'd like to steal for my apartment, and well, I'll let my photos tell you the rest. Then scroll down for all the original recipes.


That salad. Would have happily eaten it straight out of the mixing bowl, but I didn't think that'd be kosher...

The masterpiece. Sydney's brilliant idea: soak the bread in the stew, top it with that clothbound cheddar. Heaven.

Perfect palette cleanser and finisher to the night.
Now for the original recipes!
All recipes © Haven's Kitchen. I edited for clarity, with permission of Haven's Kitchen and Sydney Willcox.
Frisee Salad with Whole Grain Mustard Vinaigrette
by Sydney Willcox and David Mawhinney
*serves 8
Ingredients
For Salad:
3 heads Frisée, washed and torn
½ cup Cabot Clothbound cheddar cheese, grated
2 Apples, sliced
1 Fennel bulb, sliced
For Dressing:
1 small Shallot, diced
2 Lemons, juiced
2 tbsp Whole Grain Mustard
2 tsp Honey
4 oz Extra Virgin Olive Oil
Salt
Black pepper
Recipe:
For the salad (starting from scratch):
1. Wash frisée in a cold water bath, then get rid of excess water with a salad spinner. Tear lettuce using hands, and place in a large mixing bowl.
2. Grate the cheddar cheese and add to the large mixing bowl.
3. Slice the fennel, and dice the apples. Add to large mixing bowl.
4. When the dressing is ready, pour dressing in, against the side of the mixing bowl and toss the salad in an upward direction against the side of the bowl that the dressing was poured against.
For the dressing:
1. In a medium bowl, macerate diced shallots in lemon juice for 5-10 minutes, with a pinch of salt and a few cracks of freshly-ground black pepper.
2. Add the honey and the mustard to the bowl. Whisk to combine.
3. Add the olive oil in a slow stream, whisking constantly and rapidly to emulsify.
Adjust seasoning as desired.
Boeuf Bourguignon
by Sydney Willcox and David Mawhinney
*serves 6
Ingredients
1 tbsp Olive Oil
8 oz Pancetta, diced
2 ½ lbs Beef Chuck, cut into 1 ½-inch cubes
Kosher Salt
Freshly ground Black Pepper
1 lb Buttom Mushrooms, halved or quartered
1 lb multicolored Baby Carrots, cut crosswise
2 Yellow Onions, diced small
1 lb Cippolini Onions, quartered
2 Garlic Cloves, sliced
1 tbsp Tomato Paste
1-2 tbsp Dijon
½ cup Cognac or brandy
1 bottle dry Red Wine
2 cups Beef or Chicken Stock
1 tsp fresh Thyme Leaves
1 Bay Leaf
French baguette for serving
Recipe:
1. In a large, thick bottomed pot, over med-high heat:
Render the fat from the pancetta: just as it starts to get brown and crispy, remove from the pot and reserve.
Add a few tablespoons of olive oil and brown the beef on each side. Work in batches to keep the pot hot so the meat doesn’t start to steam and turn grey. Remove meat and set aside.
2. In the same (now) empty pot:
Add mushrooms, begin to brown them.
Add the carrots, onions, and garlic.
Season lightly with salt, then add tomato paste.
Off the heat, deglaze with cognac, then return to heat and scrape the fond (brown pieces at bottom of pot from searing process).
Add back all the meat (beef and pancetta)
Add wine and stock. Bring to a boil, then reduce to a simmer.
Add bay leaf and thyme.
3. Let simmer for 2.5-3 hours and check often by stirring the pot. Alternatively, you can place the pot in an oven at 300ºF, covered.
4. When the meat is tender, but not falling apart, finish the dish by adjusting the seasoning and adding 1-2 tbsp of dijon mustard.
5. Serve with sliced french bread.
Lemon Mousse
by Sydney Willcox
*serves 6
Ingredients
8 Eggs
1¼ cups Sugar
½ tsp. Kosher Salt
Juice of 4 Lemons & Zest of 5 Lemons
1 cup Heavy Cream
1 tsp Vanilla Extract
¼ tsp Orange Extract
2 tsp Confectioners Sugar
1 pint Raspberries, for serving
Recipe:
1. Whisk together 4 eggs, 4 yolks (reserve remaining whites), and 1 cup sugar in a 4 quart saucepan. Add salt and juice and zest; stir until smooth. Place saucepan over medium heat; cook, stirring, until mixture thickens to the consistency of loose pudding, about 10 minutes. Pour through a fine strainer into a large bowl, and chill for 15 min, cover with plastic wrap (directly on surface of curd) and refrigerate.
2. Whisk egg whites and remaining sugar in a bowl until stiff peaks form; add to curd. Fold gently until combined; set aside. Whisk cream and vanilla in a bowl until stiff peaks form; add to curd mixture. Fold until combined.
3. Spoon mousse into serving cups; chill before serving, top with raspberries.